Start with the prepared product
Use a model prepared for the material changes or artwork you need to show.
Change colors or materials and place label artwork on your 3D product. Create matching views for product pages and sales presentations.


Choose the product and the options you need to show. Make the material or artwork changes, then render the required views.
Use a model prepared for the material changes or artwork you need to show.
Apply the material to its product part. Position label artwork where it needs to appear.
Create the front, side or detail images your team needs for each selected option.
Switch the material on the prepared product. Keep the camera and lights in place to judge differences in color and surface response.
Upload PNG, JPG, or WebP artwork as a decal, then adjust its placement, scale, orientation, and opacity.
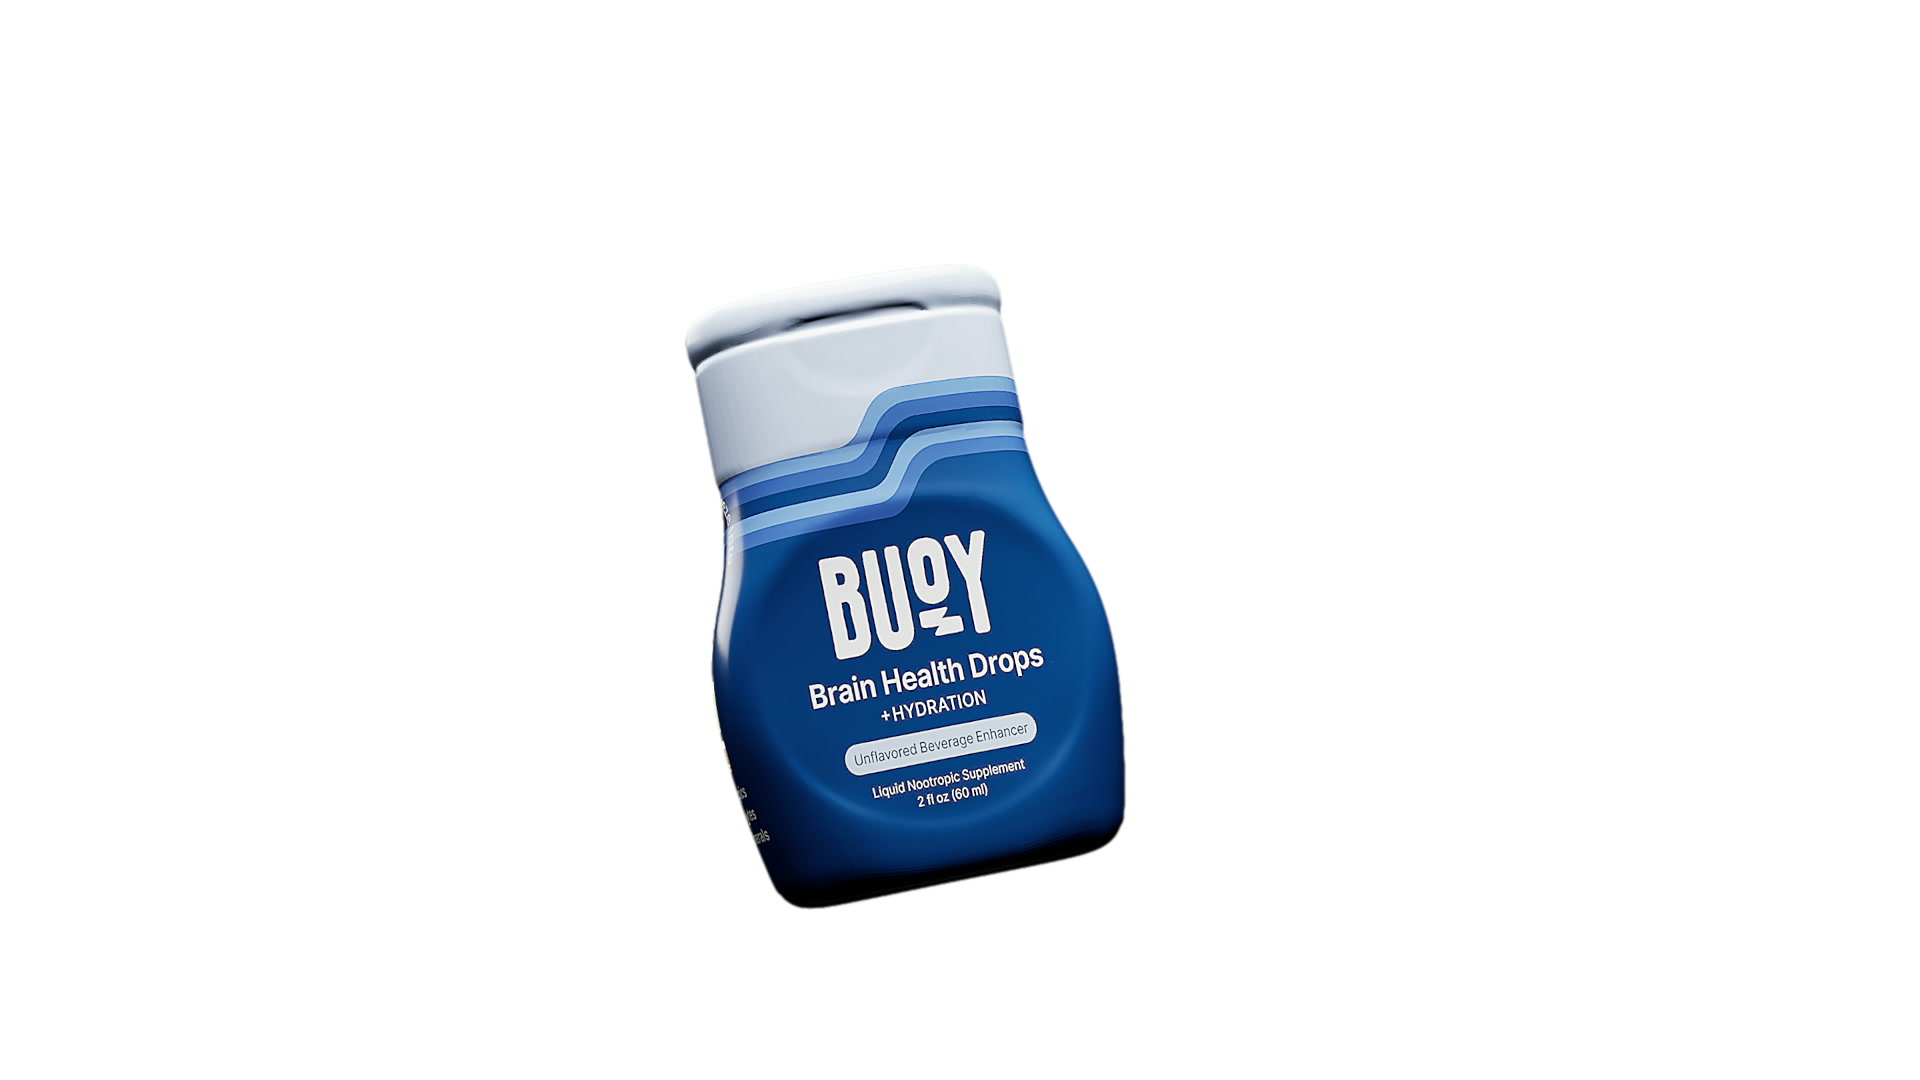
Show the selected options from consistent angles. Customers can compare the differences on a product page or in a presentation.
ForestSaved configuration
BlackSaved configuration
SandSaved configuration
Prepared modeled variants, mapped material changes, and positioned image decals.
Define product regions, material relationships, saved views, and required outputs before batch production. Check the specific automation path; variable data, packaging compliance, and barcode verification need separate review.
Learn more about product variants in Glossi.
Start with a prepared 3D product. Change its color or material, or position label artwork, then render the views you need for each option.
Yes, when the product has prepared material regions or modeled variants. Each treatment should be checked before rendering at scale.
Yes. Supported image files can be placed as decals and adjusted on the product.
Not as a universal promise. Prepared material relationships can be reused, but product mapping and direct batch execution depend on the workflow.
Start with a prepared model and the material references or artwork you want to show.