Digital Twins

One digital twin per product. Every image and video comes from it.

A digital twin is a calibrated 3D model of the physical product: true geometry at real scale, materials tuned against samples, every editable part named. Set it up once and every product image, video, colorway, and spin renders from it. Start from CAD or a 3D file, a few photos, or have us build it.

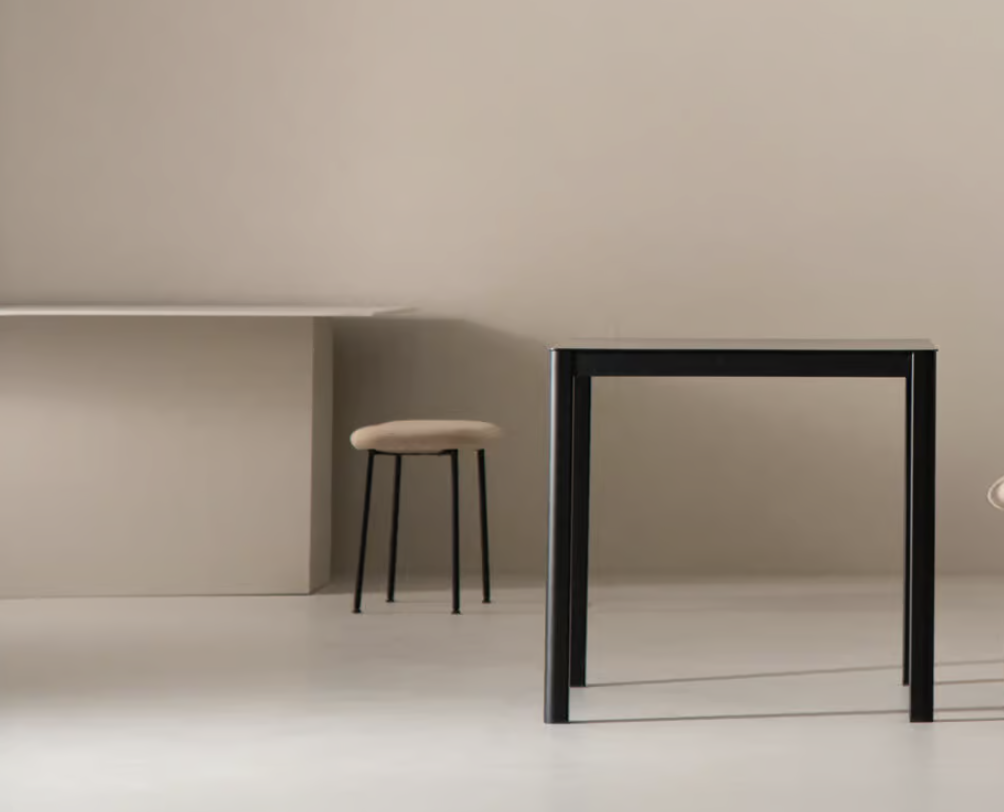
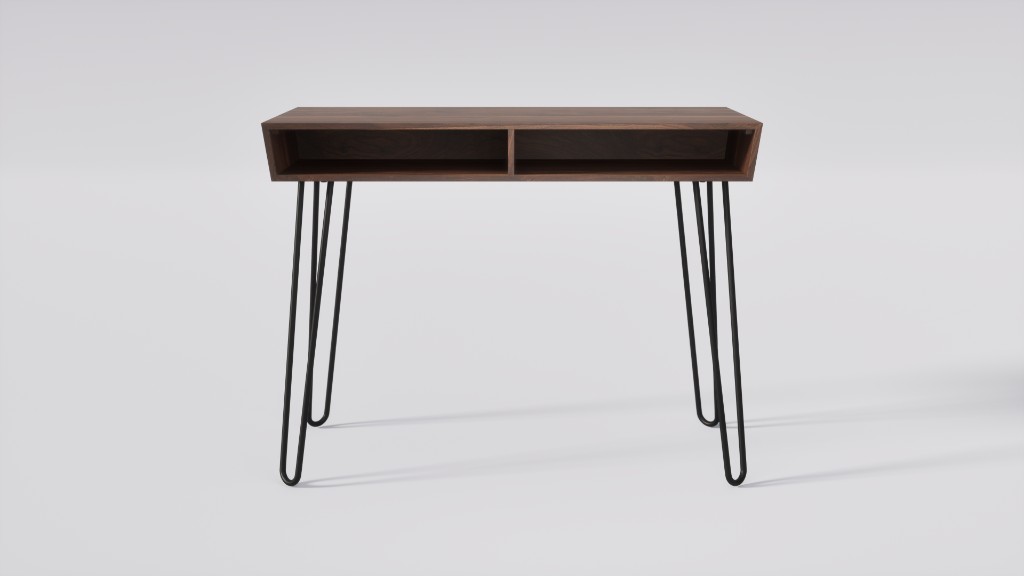
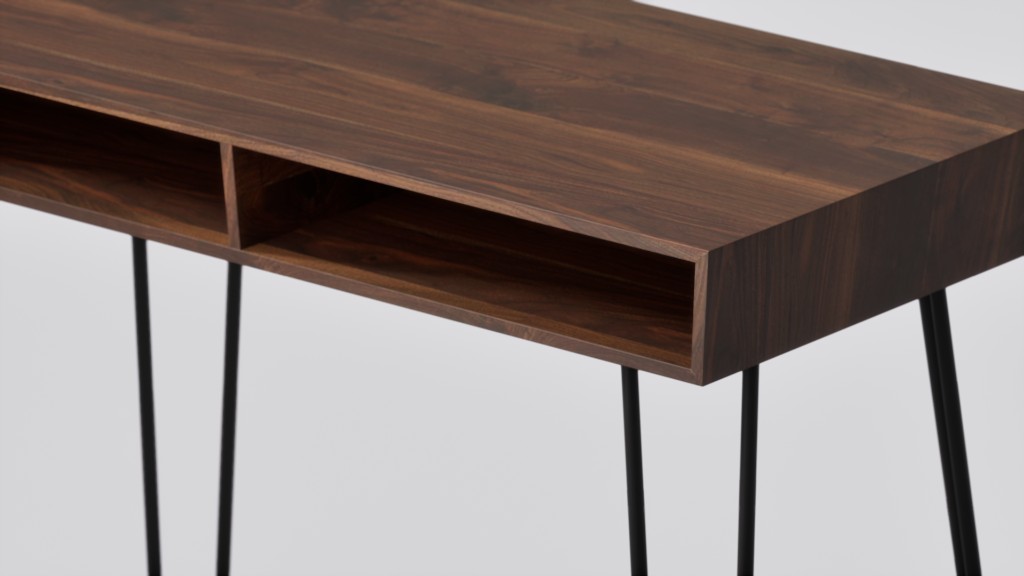
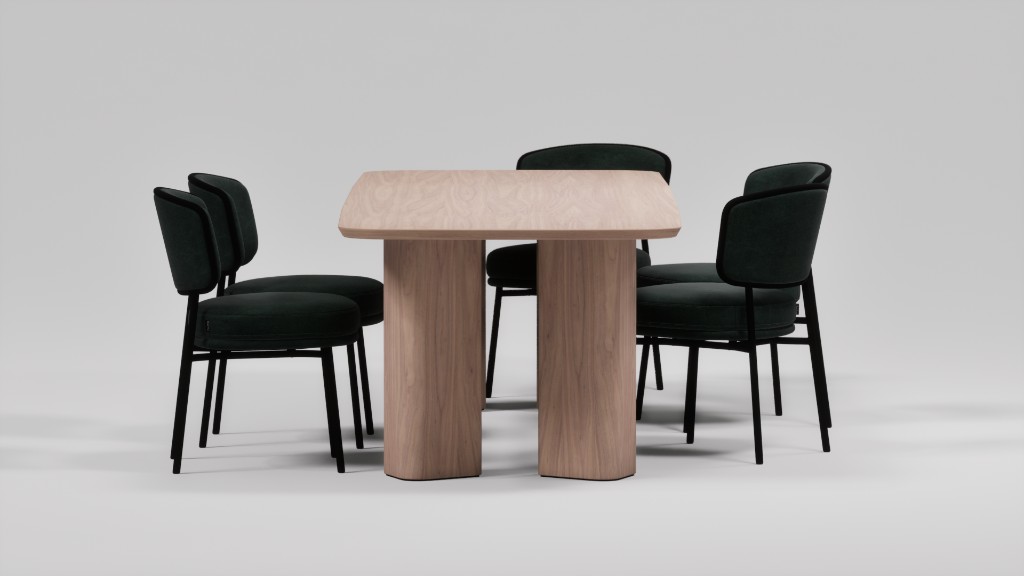
Product verification Dining Table 01 Ready for Studio
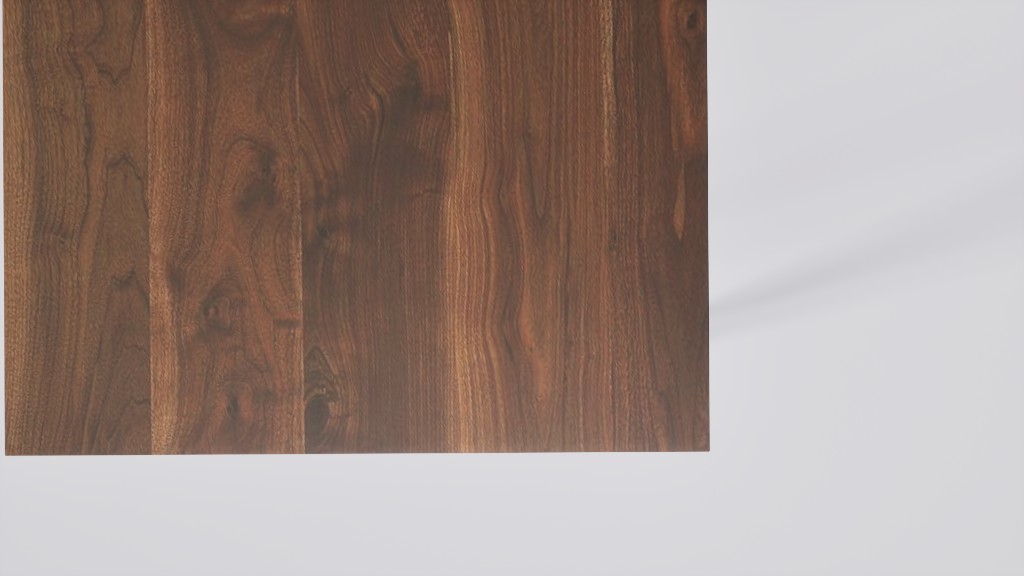
Wooden dining table digital twin checked during preparation for Studio 01GeometrySilhouette checked 02MaterialsSurface response set 03FinishGrain and stain set 04ScaleReal dimensions
Source CAD file Variants 3 finishes Handoff Source + Studio model

Accurate enough that the render is the part.

A digital twin in Glossi is a prepared 3D model of the physical product: correct geometry at true scale, materials calibrated against real samples, artwork placed exactly, and every editable part named in a clean hierarchy.

Accuracy is the whole game. When the model matches the product, anything you render from it is the product. When it is off, every image, video, and colorway made from it inherits the error.

So you set the twin up once, then work from it everywhere. New angles, scenes, colorways, spins, and motion render from the same model, whether that is one product or a full catalog. The twin lives in your Asset Library with its source file attached, ready for Studio and Pipeline.

Explore the Live 3D Studio
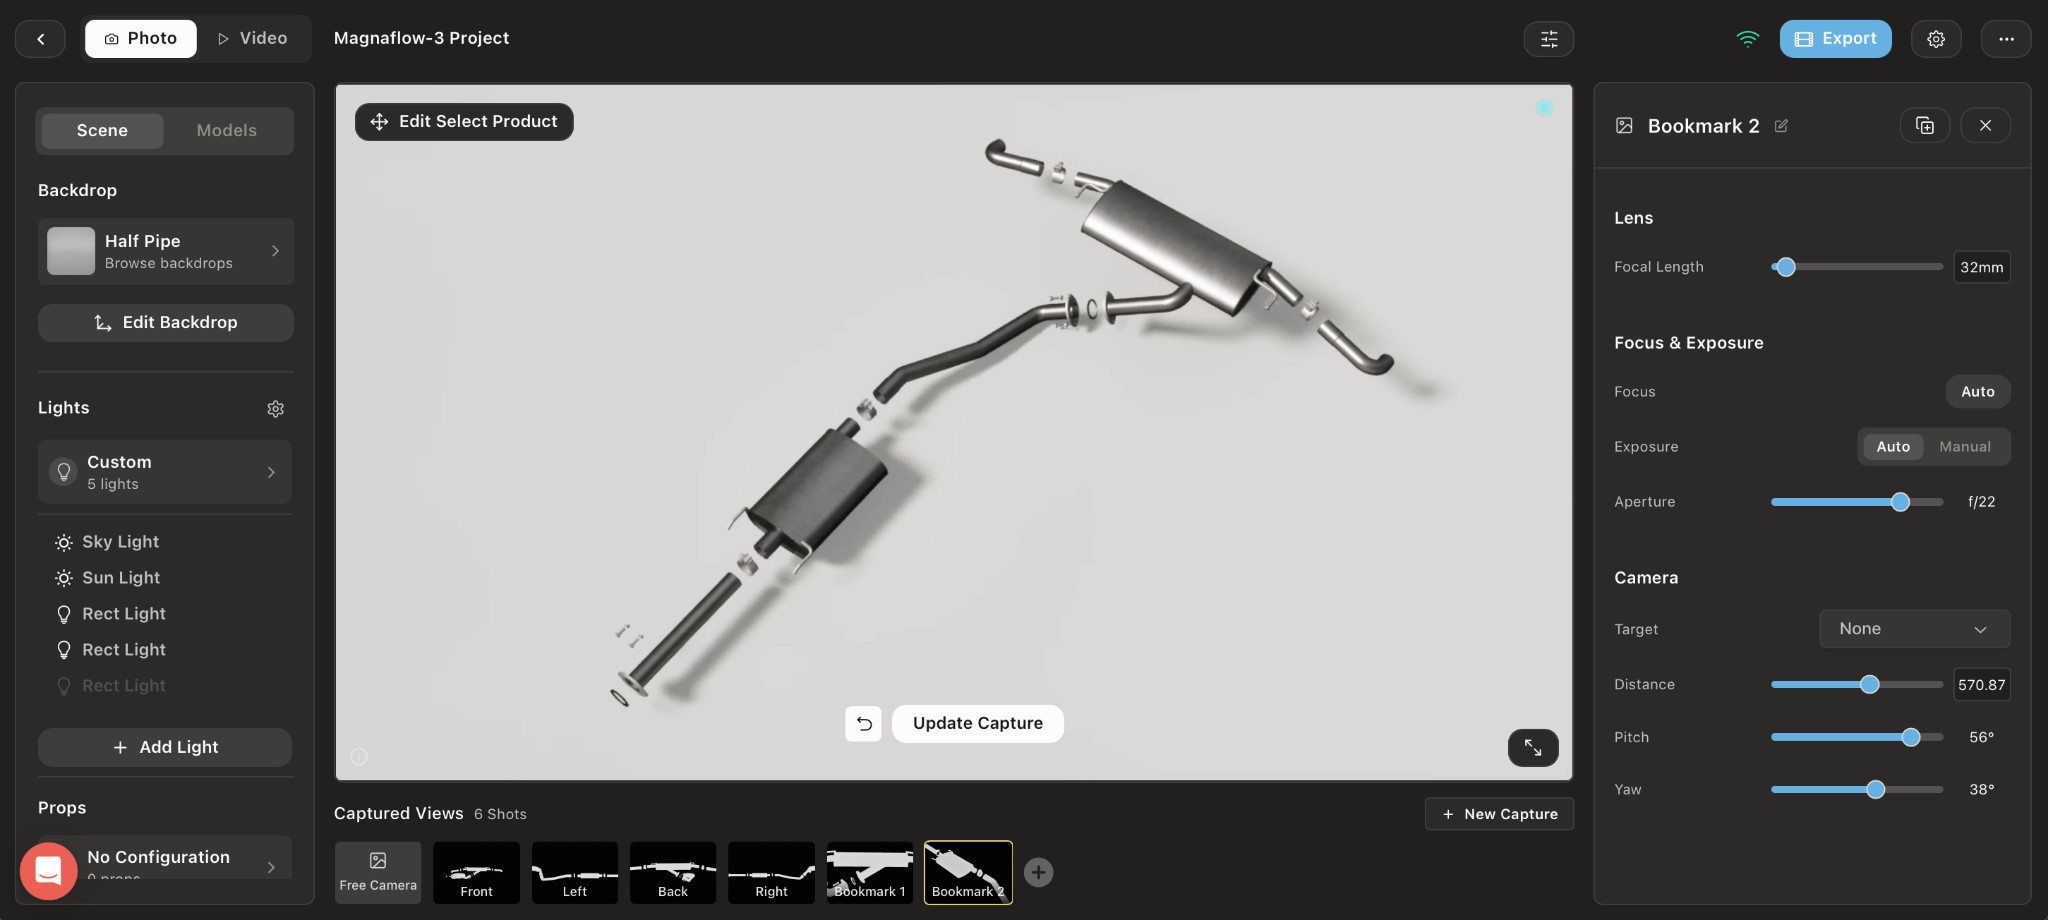
MagnaFlow exhaust system digital twin in Glossi Studio with lens, exposure, and camera controls
Model creation

Three ways to get one.

Most teams start with files they already have. Photos work when you have nothing else. And when the model has to match the product exactly, we build it for you.

013D and CAD files

Bring the files you already have.

GLB, glTF, FBX, OBJ, STEP, STP, USD, and USDZ upload directly. Glossi keeps the source linked and prepares an optimized version for Studio.

Also covered
  • CAD assemblies from SOLIDWORKS or Shapr3D
  • Plug-ins for Blender, KeyShot, 3ds Max, and CLO
  • STL, IGES, DAE, and more file types
Upload with a free account
02Product photos

Generate a starting model from photos.

Photos of your product generate a draft 3D model in the app. Stage it, light it, and render it right away.

Good to know
  • A draft takes about a minute
  • A generation draws from your monthly usage
  • Production accuracy comes from a prepared model
Generate one in the app
03Built for you

We build or prepare it for you.

We prepare your CAD, scan the physical sample, or build from references. The model is checked against the real product before it reaches Studio.

What preparation covers
  • Geometry at true scale
  • Materials calibrated to real samples
  • Named parts, variants, and clean hierarchy
Talk to us about a build
File support

Send files directly or connect the system where they live.

Start with one model or a full catalog. Glossi keeps each source file linked and creates an optimized version for Studio.

Supported uploads Send these formats directly to Glossi.
GLB / glTFUSD / USDZFBXOBJSTEP / STPSTLIGES
Direct upload

Upload one model or a batch of supported files.

Use this to test one product or move a contained library.

Native plug-ins

Publish from Blender, KeyShot, 3ds Max, or CLO.

Send prepared work to Glossi from the source tool.

Connected systems

Connect a catalog in Google Drive, OneDrive, or Adobe Experience Manager.

Talk to us about an API, DAM, or PIM connection.

Close product render showing surface structure, translucent material response, and edge detail Material response Surface structure Edge detail
Production-grade preparation

Match the real product in every visible detail.

True scale and correct geometry come first. Then we build the seams, folds, materials, finishes, and artwork that make the product recognizable.

01

Match the real shape at true scale

Check the silhouette, proportions, dimensions, edge shapes, and visible construction against the product references.

02

Build the details people notice

Reproduce seams, folds, stitching, embossing, hardware, openings, and other category-specific details.

03

Tune every material against the real product

Set surface texture, roughness, reflection, translucency, and refraction so each finish responds correctly to new lighting.

04

Place artwork and decoration exactly

Map labels, logos, decals, graphics, and color to the correct surfaces at the correct scale.

05

Set up variants on named parts

Build a clean hierarchy, name the editable parts, and connect materials so colorways switch without touching the geometry.

One twin, every output

Start with the digital twin. Create every product image and video from it.

The geometry, proportions, labels, and materials stay fixed. Set new angles, crops, scenes, colorways, and motion for each channel.

Starting point In Studio
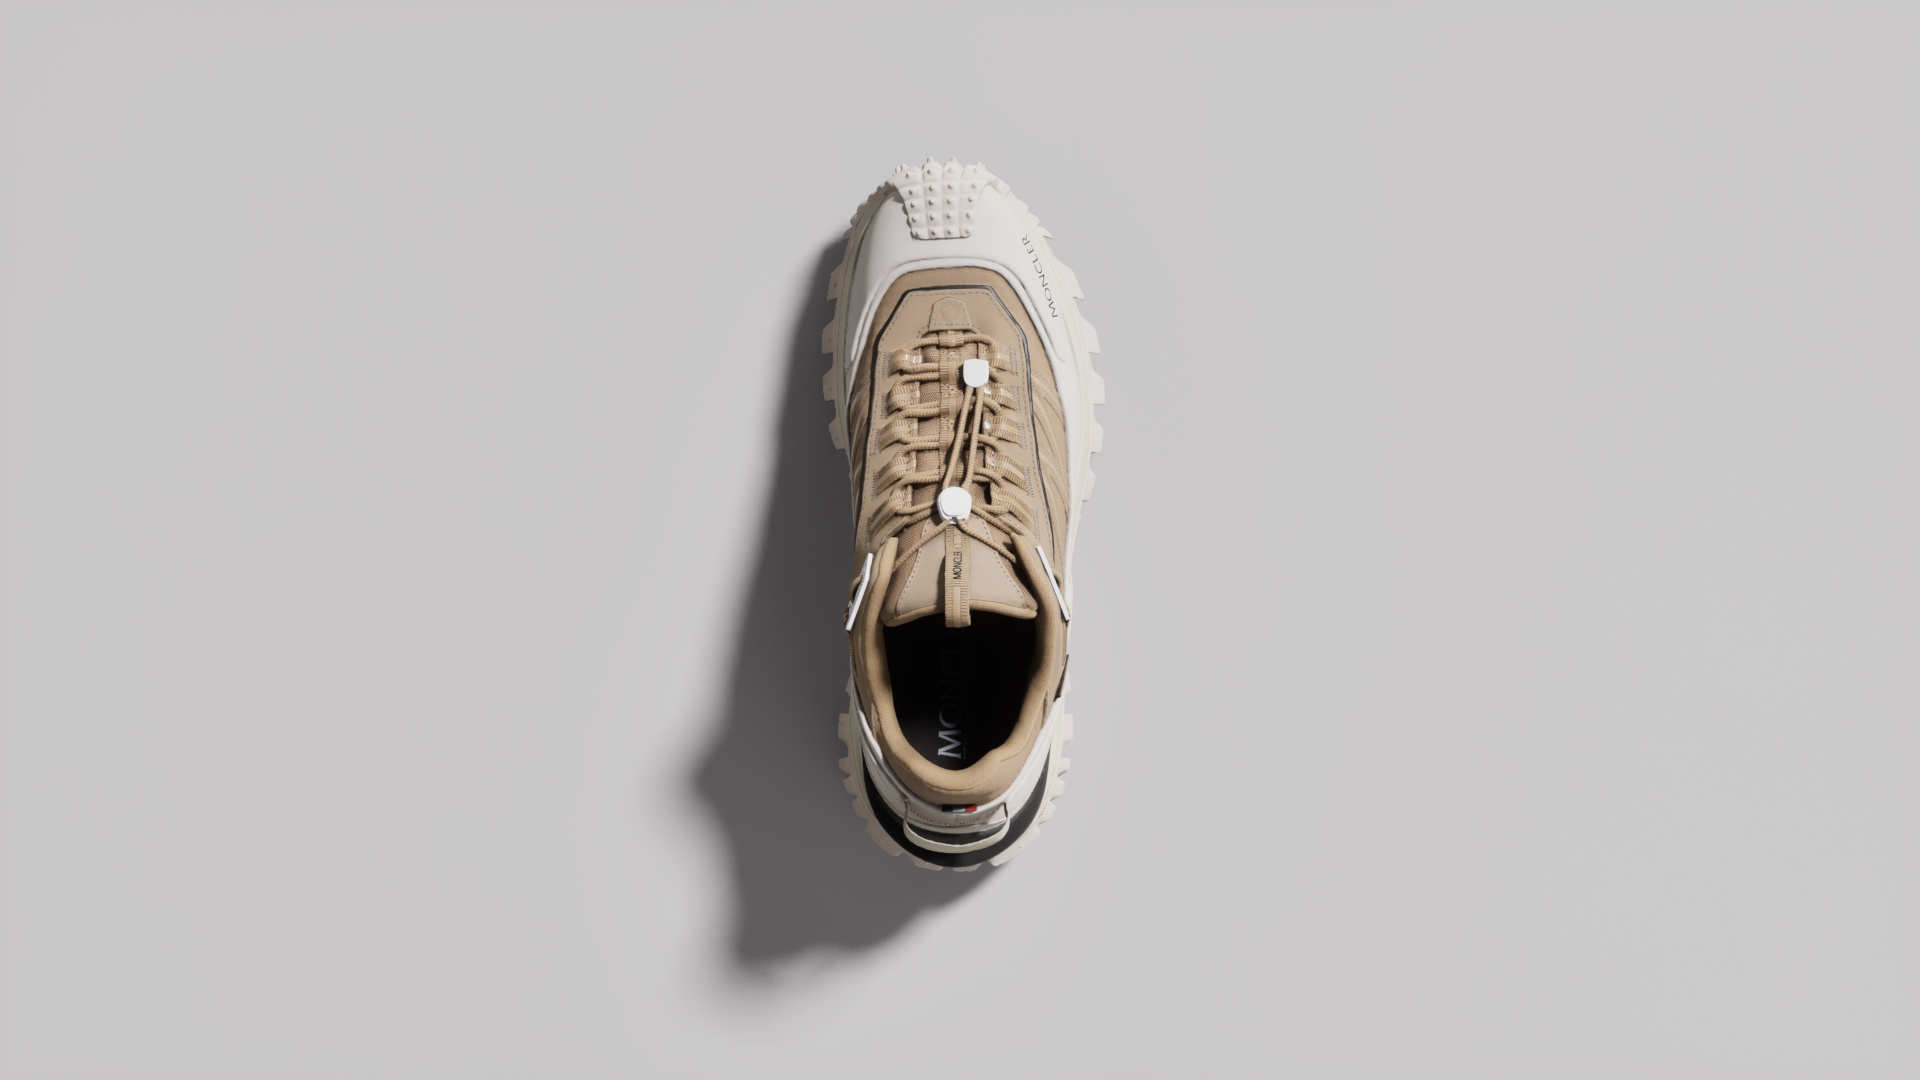
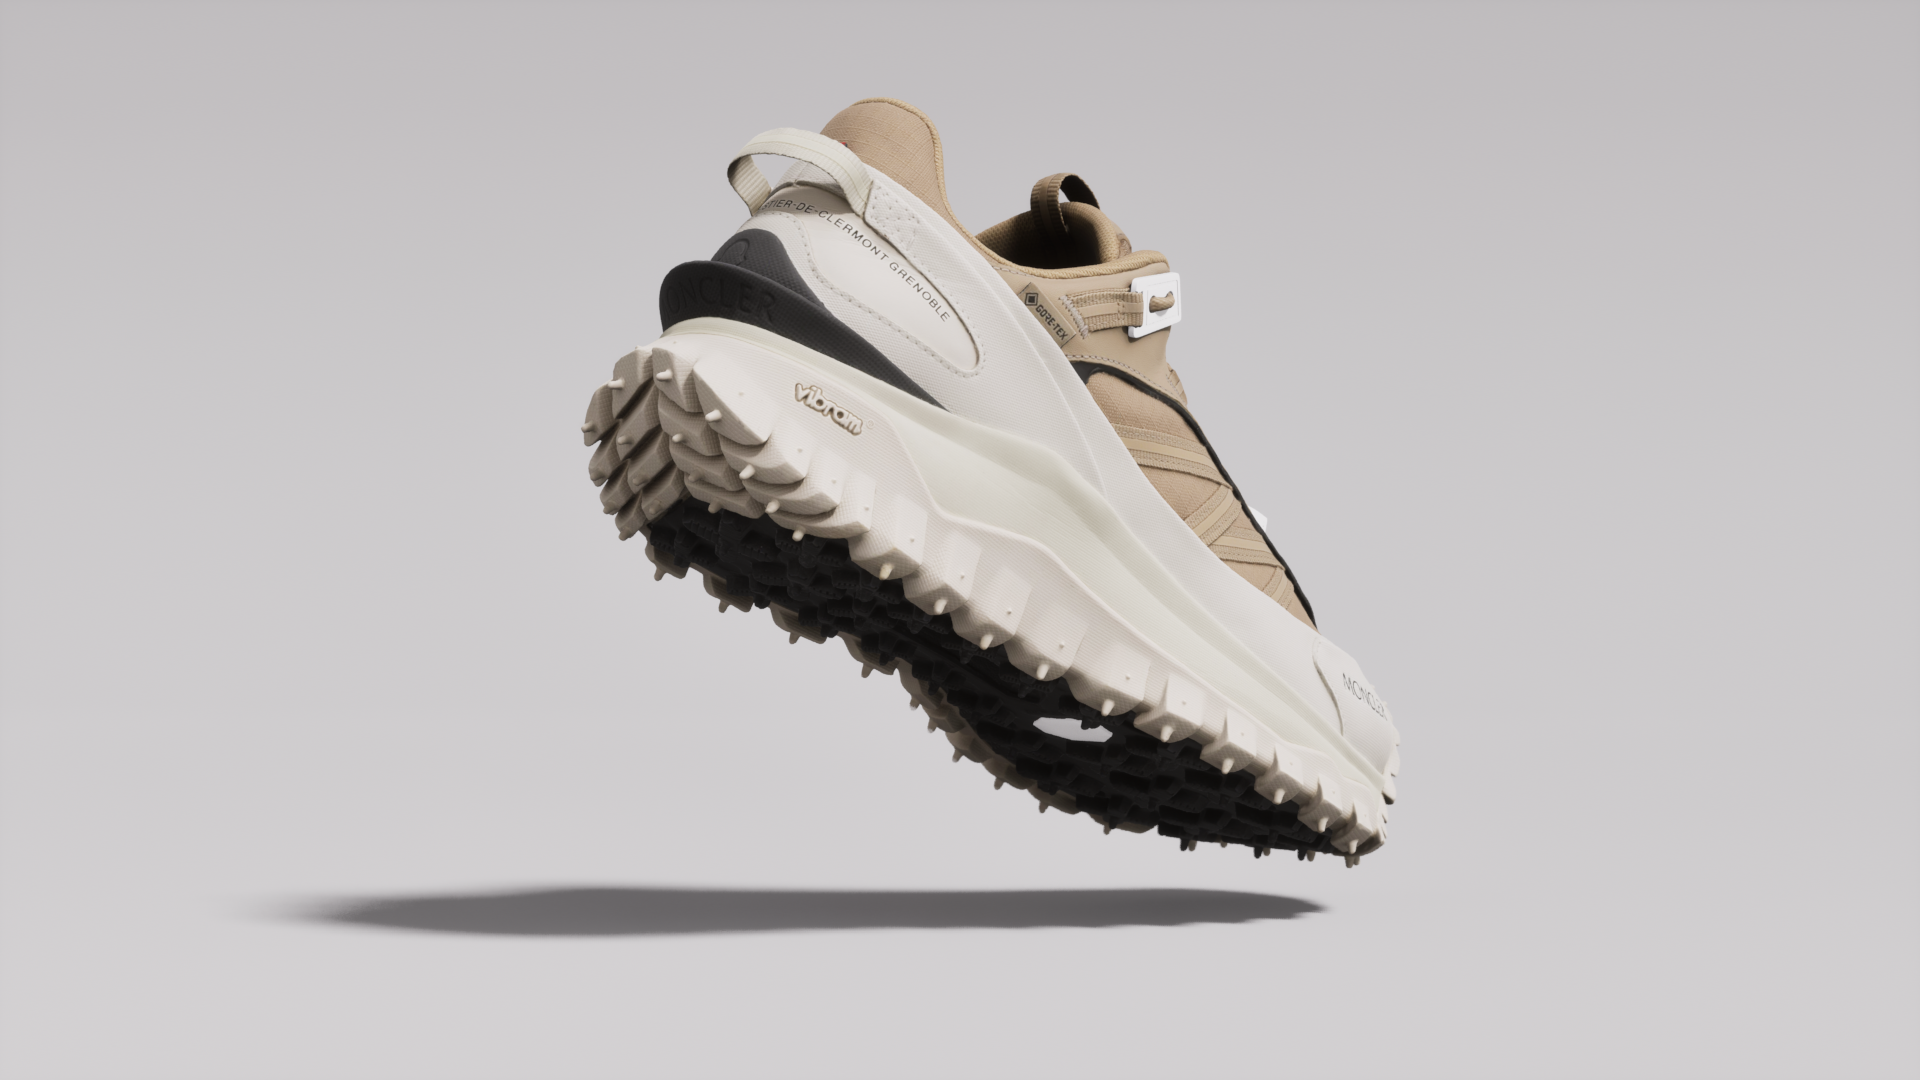
Footwear digital twin used as the source for product content
The digital twinGeometry · materials · artwork · variants
Front product view Side product view Detail product view
PDP image setsHero, side, heel, and detail views
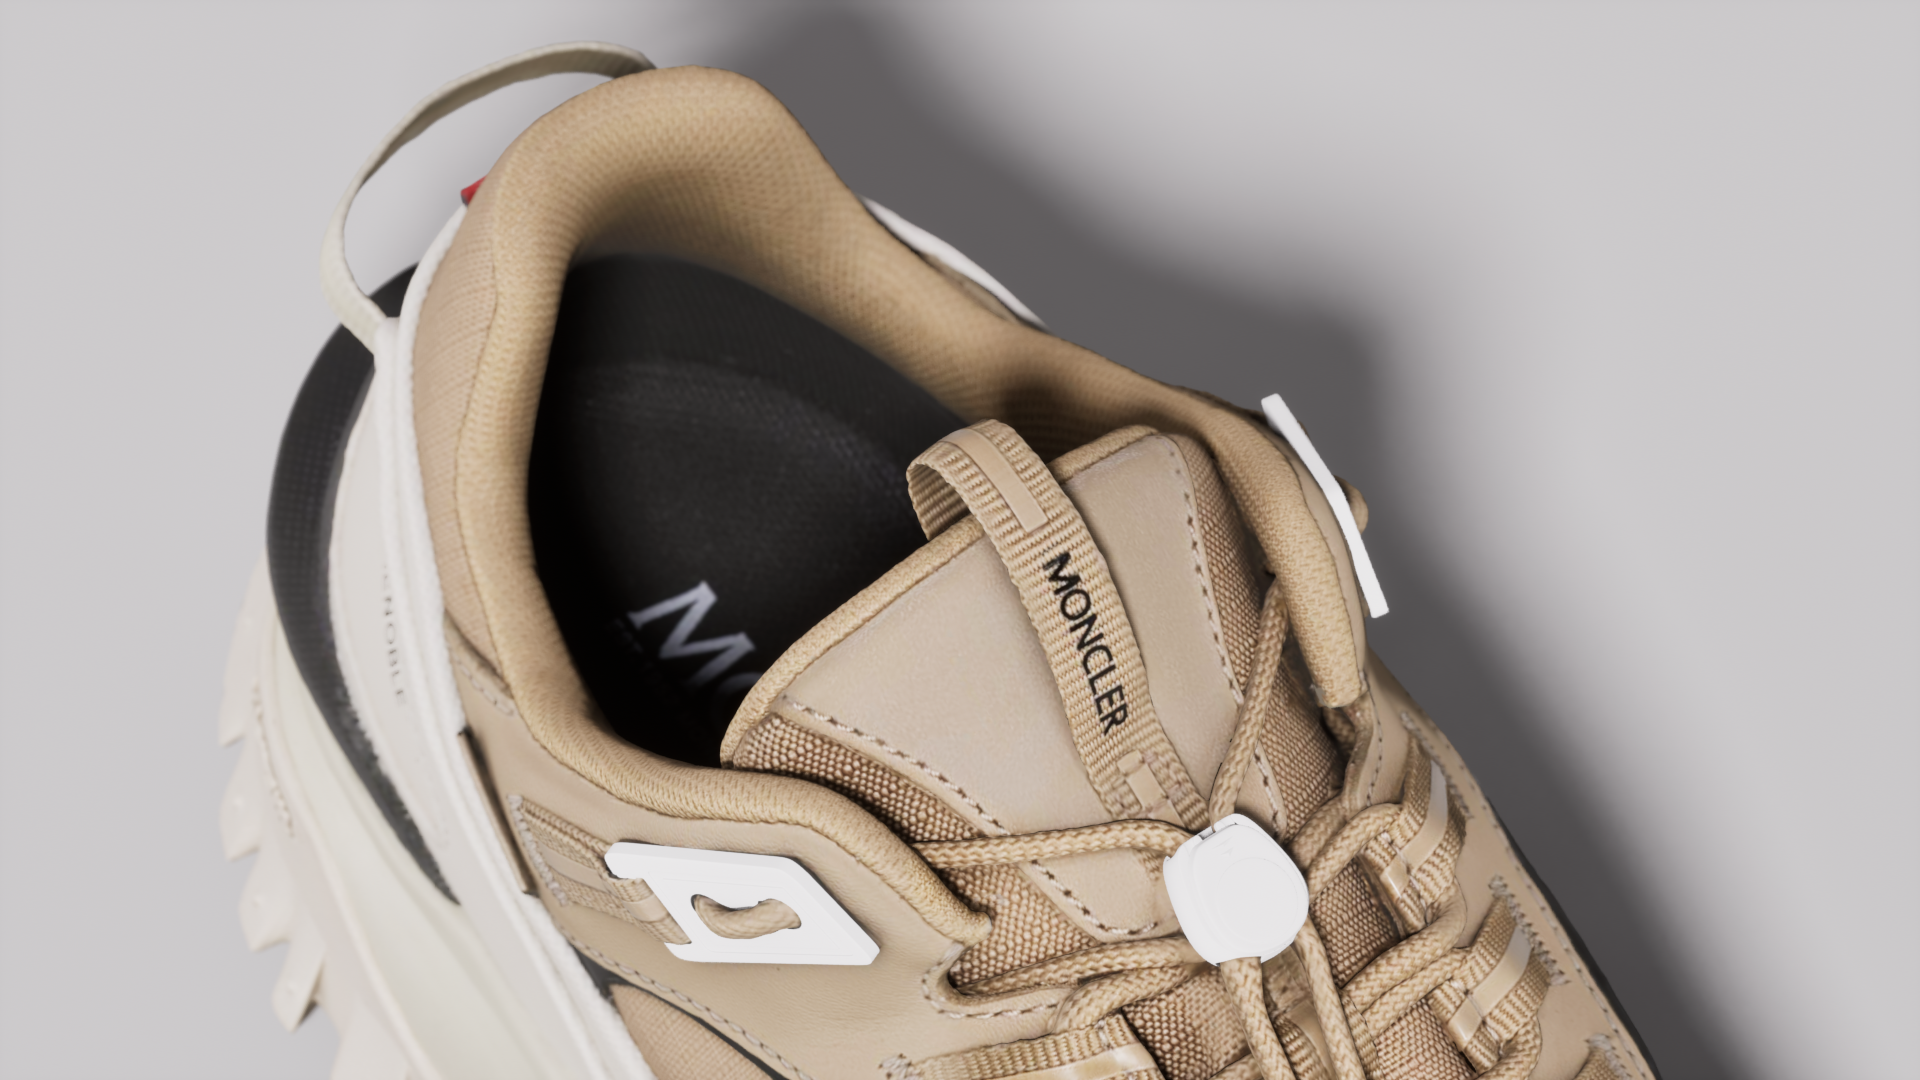
Close campaign view created from the footwear model
Campaign stillsNew cameras, crops, and lighting
Motion and 360Every frame uses the same model
Tan footwear colorway Black footwear colorway Footwear colorway
ColorwaysMapped colors and finishes
Ready forEcommerce PDPsRetailer portalsProduct launchesCampaigns and socialWholesaleLocalizationAI scenes
For large catalogs

See which products are ready, in review, or need work.

Give every SKU one place for its source files, notes, 3D model, and Studio projects.

See a clear status for every SKU Keep source files and notes with the product Track geometry, material, and colorway versions Open the model directly in Studio or Automations
Explore the Asset Library
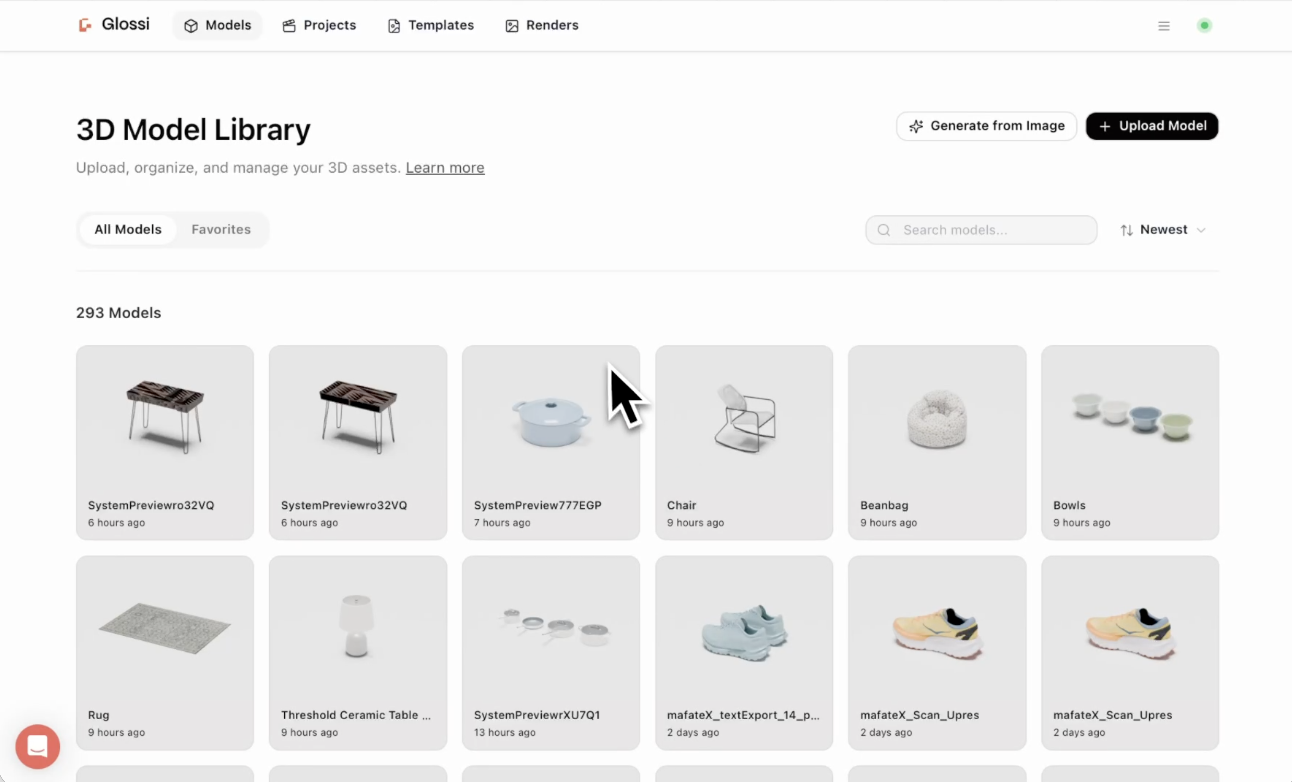
Glossi 3D Model Library showing managed product assets
Product libraryEvery model stays connected to the work it produces.
Before you start

What to know before the first model.

Whether you upload, generate, or have us build depends on the product and the final views you need.

Do I need an existing 3D model?

No. If you have CAD or any common 3D file, upload it directly. If you only have photos, generate a starting model in the app. If you want production-grade accuracy without doing the work yourself, we build the model for you.

Can I create a 3D model from photos myself?

Yes. In the app, product photos generate a draft 3D model in about a minute, drawing from your monthly usage. Drafts are good for staging scenes and testing shots. Production accuracy usually needs a prepared model.

Which file formats can I bring?

GLB, glTF, USD, USDZ, FBX, OBJ, STEP, and STP upload directly. STL, IGES, DAE, and other formats are covered in the docs.

What does preparation involve?

Correct geometry at true scale, materials calibrated against the real product, artwork placed exactly, named parts, and a clean variant hierarchy. A prepared model renders correctly in any scene and lighting.

Can Glossi scan a physical product?

Yes. For built-for-you models we choose the capture method around the product shape and its surfaces. Some products scan well. Others are better built from CAD or modeled by hand.

How do built-for-you models work?

We scope the requirements from the views you need, route the work to a specialist suited to the product category, check the model against the real product, and deliver it prepared for Studio.

Start today

Start with one product. Upload it, or generate it from photos.

A free account lets you upload a model or generate one from photos today. For production-grade twins across a catalog, send us a representative set and we will map the right path for each product family.