The Shot Editor in Glossi Studio stands as a powerful tool for fine-tuning shots in your 3D projects, givng you control over the camera's movement, focus, and the overall scene for engaging and dynamic product presentations.
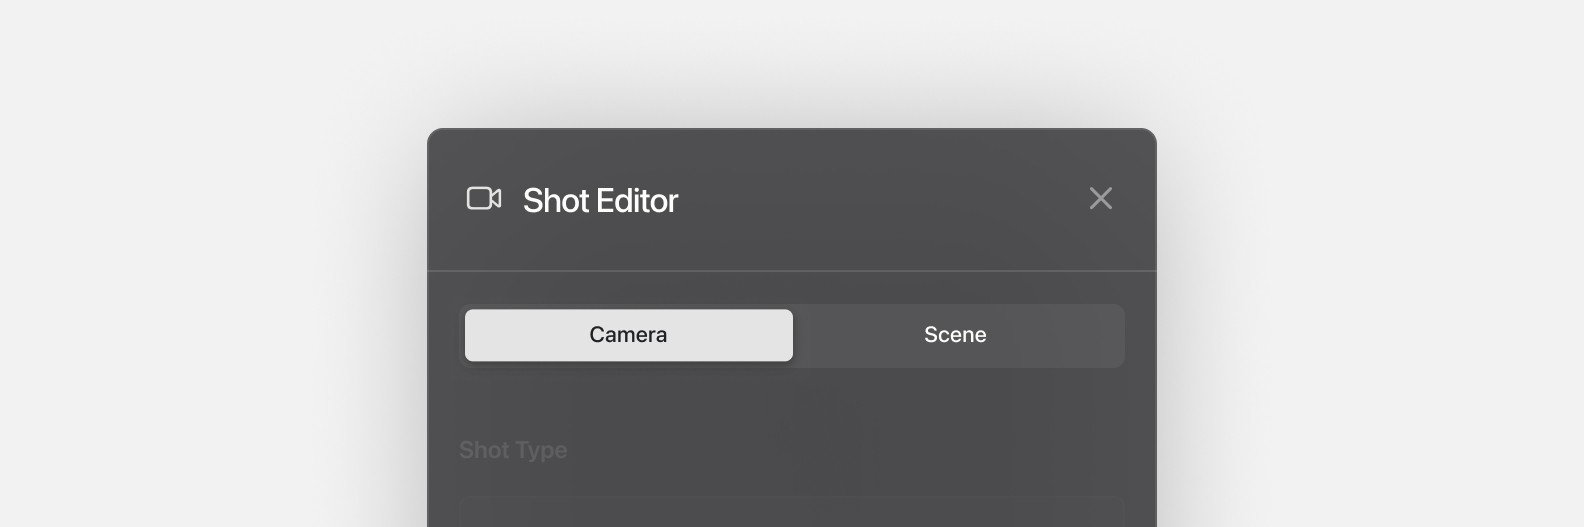
To access the Shot Editor, select a shot in the timeline in video mode or a bookmark in photo mode. The right sidebar will then display the properties of the selected shot, affecting only that shot. At the top of the Shot Editor, a switch allows you to toggle between camera and scene properties.
Camera Controls
The camera section encompasses all properties affecting the simulated camera.
Shot Type
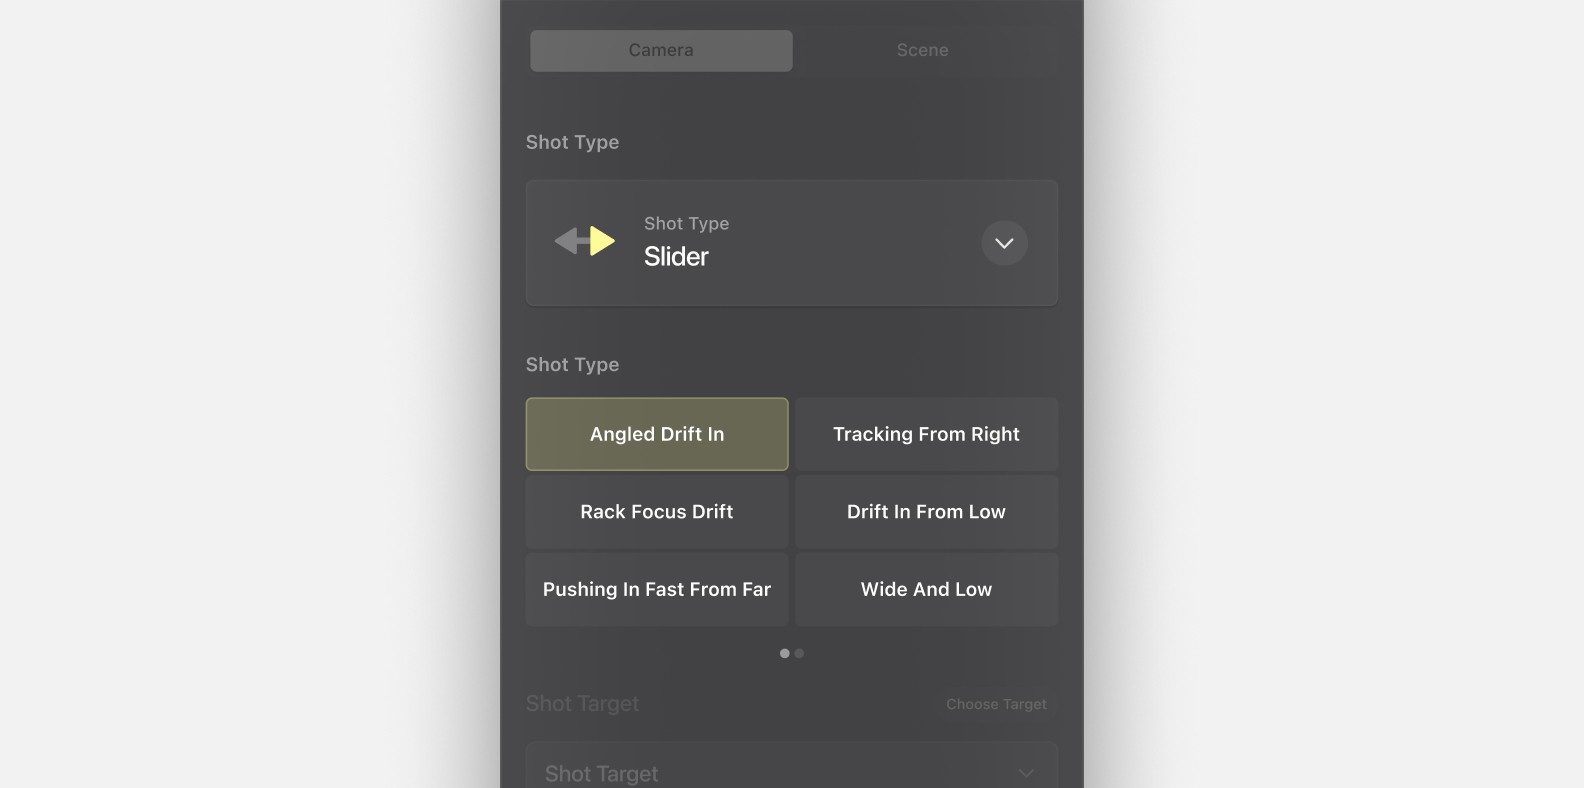
In video mode, Glossi offers a variety of preconfigured camera movements inspired by studio practices. To select a movement, start by choosing from the following categories:
Slider: Creates a smooth horizontal movement, ideal for panoramic views.
Crane: Emulates a camera crane, offering high-angle shots for dramatic overviews.
Orbit: Encircles the product, displaying it from all angles.
Lockup: Positions the camera at a fixed angle, excellent for spotlighting features.
Accent: Introduces dynamic zooms or pans to highlight specific attributes.
Explore the individual shot types within your chosen category to find the perfect fit.
Shot Target
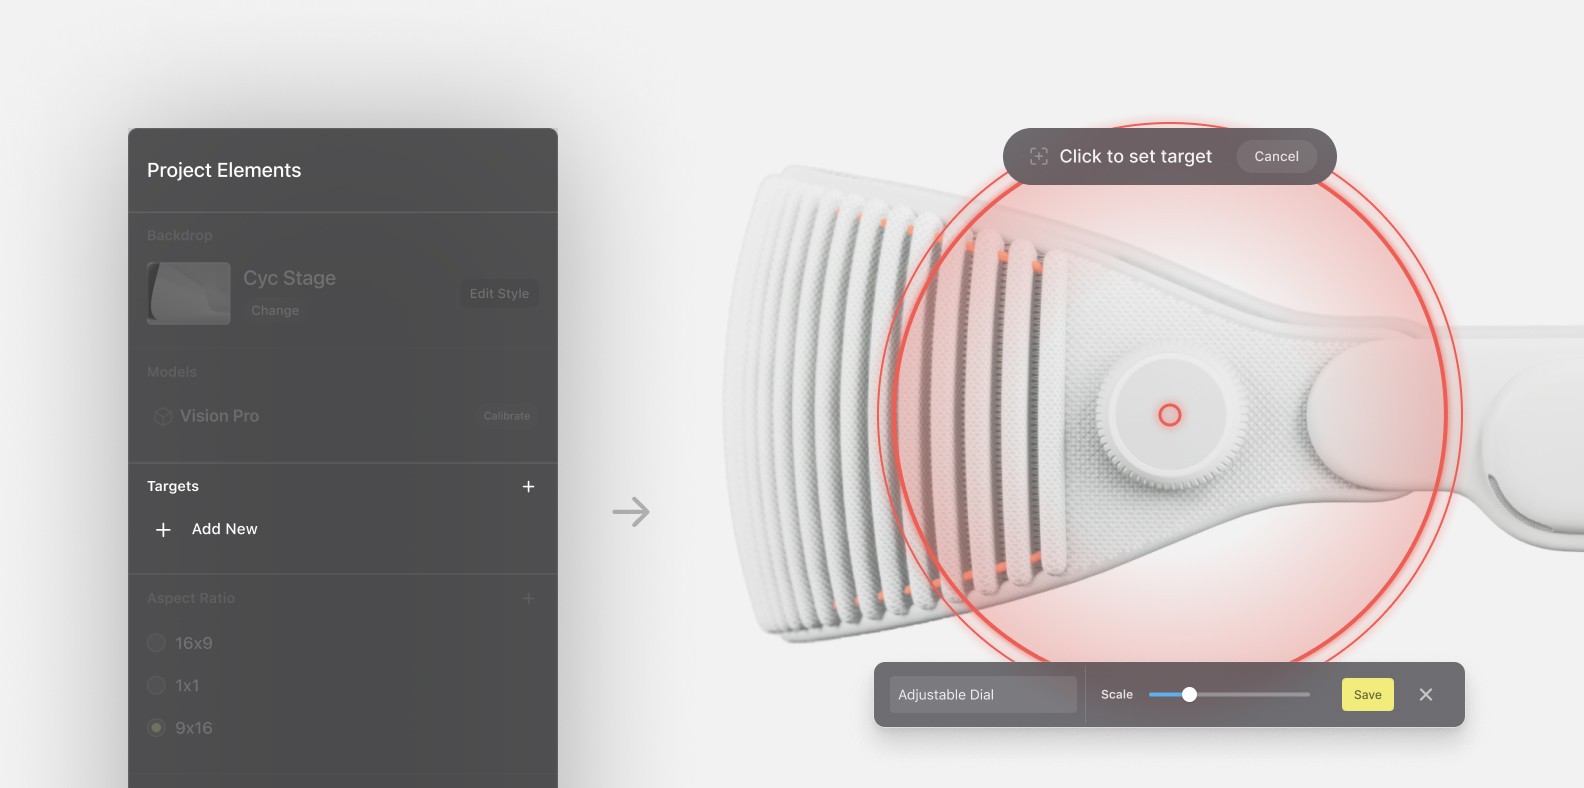
By default, Glossi focuses product shots on the entire uploaded model. This works great for showing off the product, but sometimes it’s necessary to highlight specific features of a model. This is achieved in Glossi studio by leveraging a concept called Targets. Targets pinpoint locations on a model, allowing shots to focus and orbit around them, serving as anchor points for camera movement. Targets are only available in video mode.
Camera Settings
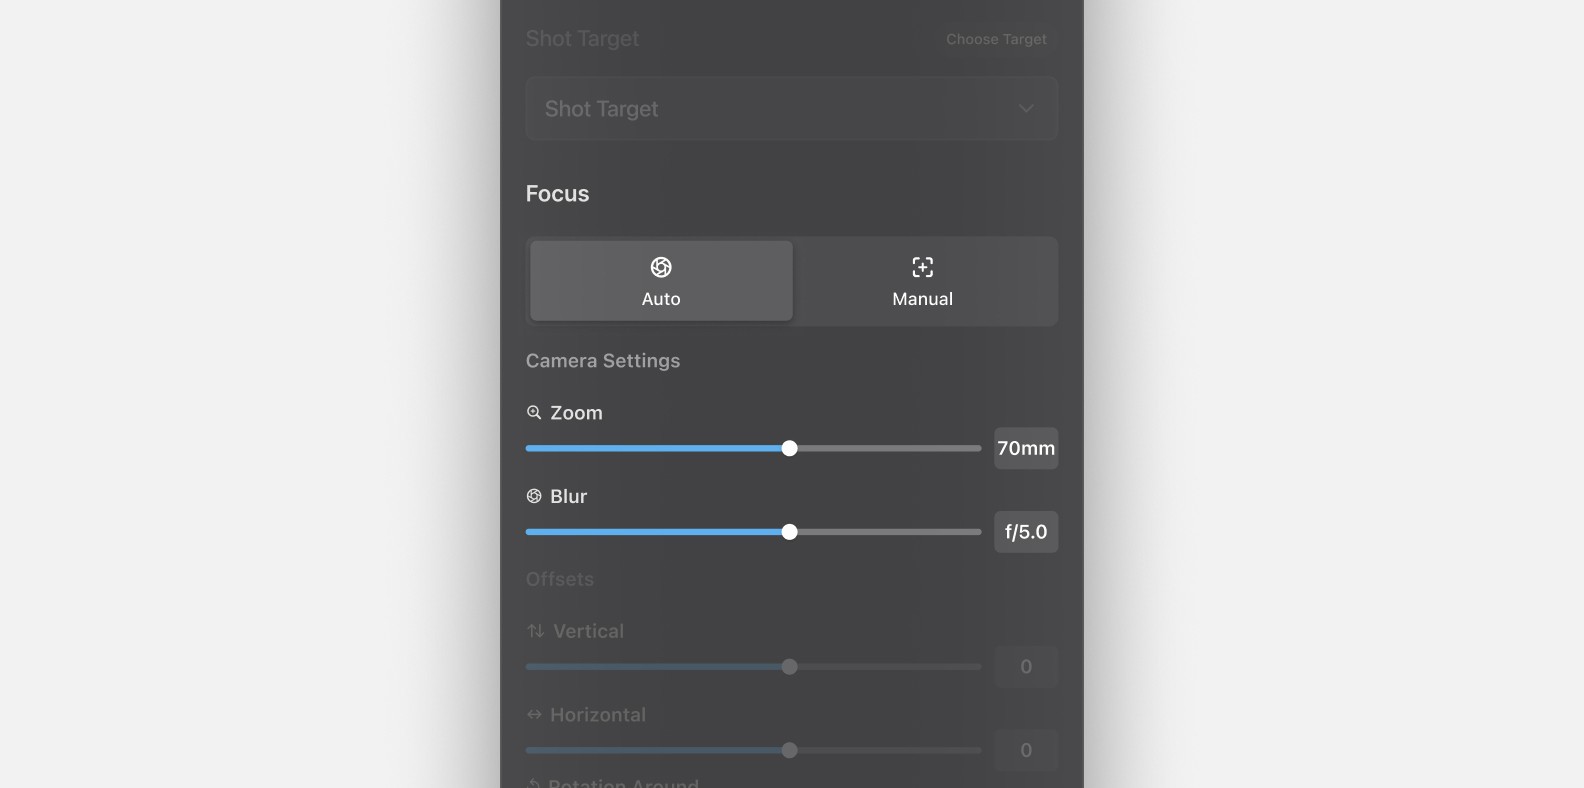
Simulating physical camera properties, these settings include:
Focus: Adjust the point in your scene for the camera to focus on.
Zoom: Zoom in or out to get the perfect frame for your shot.
Blur: Increase or decrease background blur to keep the viewer's attention on the product.
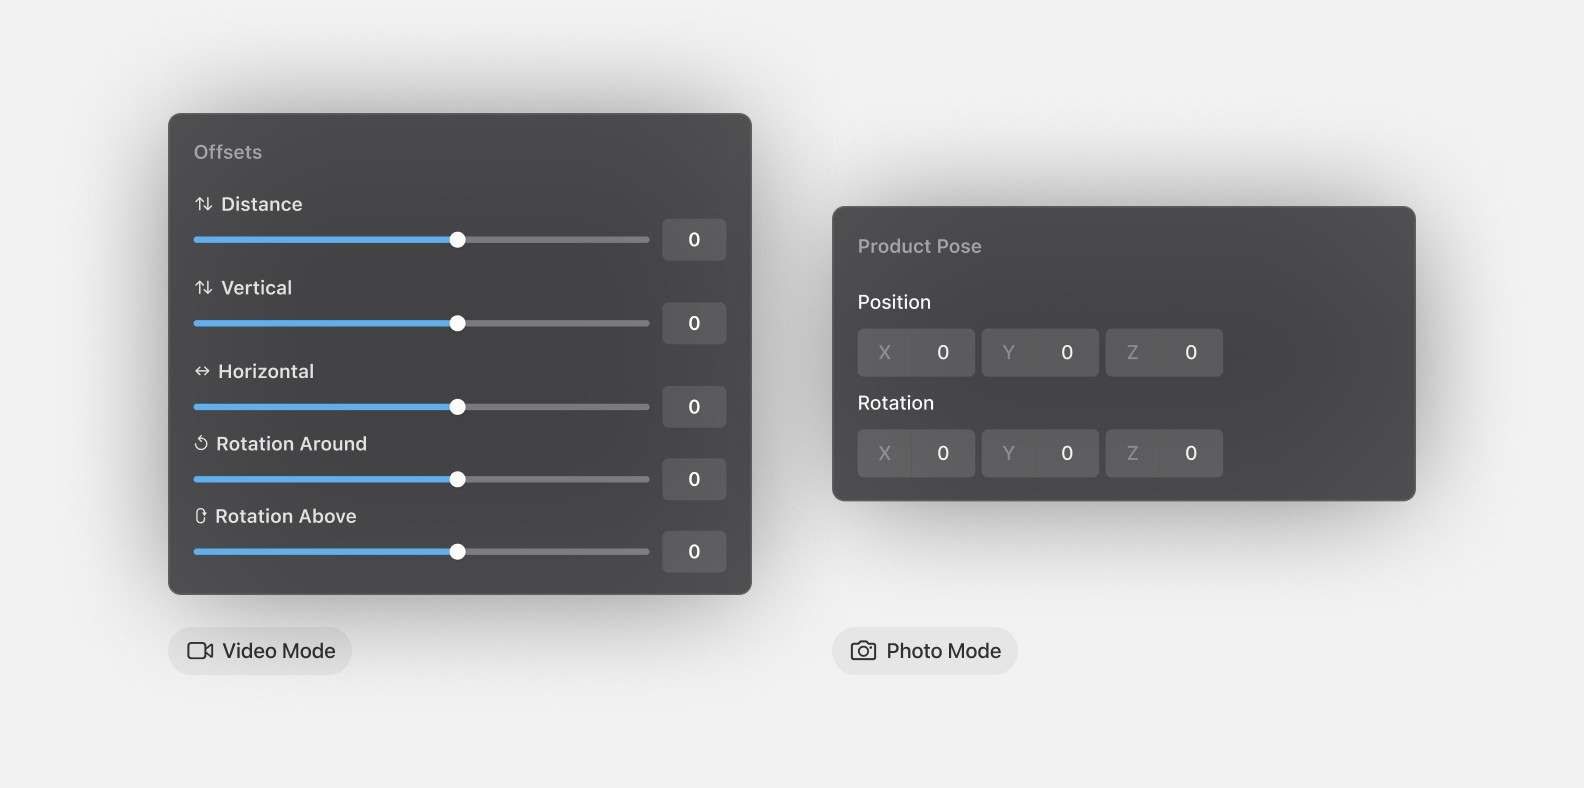
Offsets
In video mode, offsets allow you to adjust the camera's position relative to the target, offering a nuanced control over shot composition. This flexibility, paired with camera settings, makes it easy to on various model elements and craft new compositions.
Product Pose
While in photo mode, product pose allows you to adjust the position of the product in the environment. These settings are helpful when you might want to keep a camera angle steady, but change the product’s location.
Scene Controls
Over in the scene section, the backdrop properties can be adjusted. The changes made to the backdrop and scene from the shot editor only affect the scene for that shot. Changes will not apply to other shots.
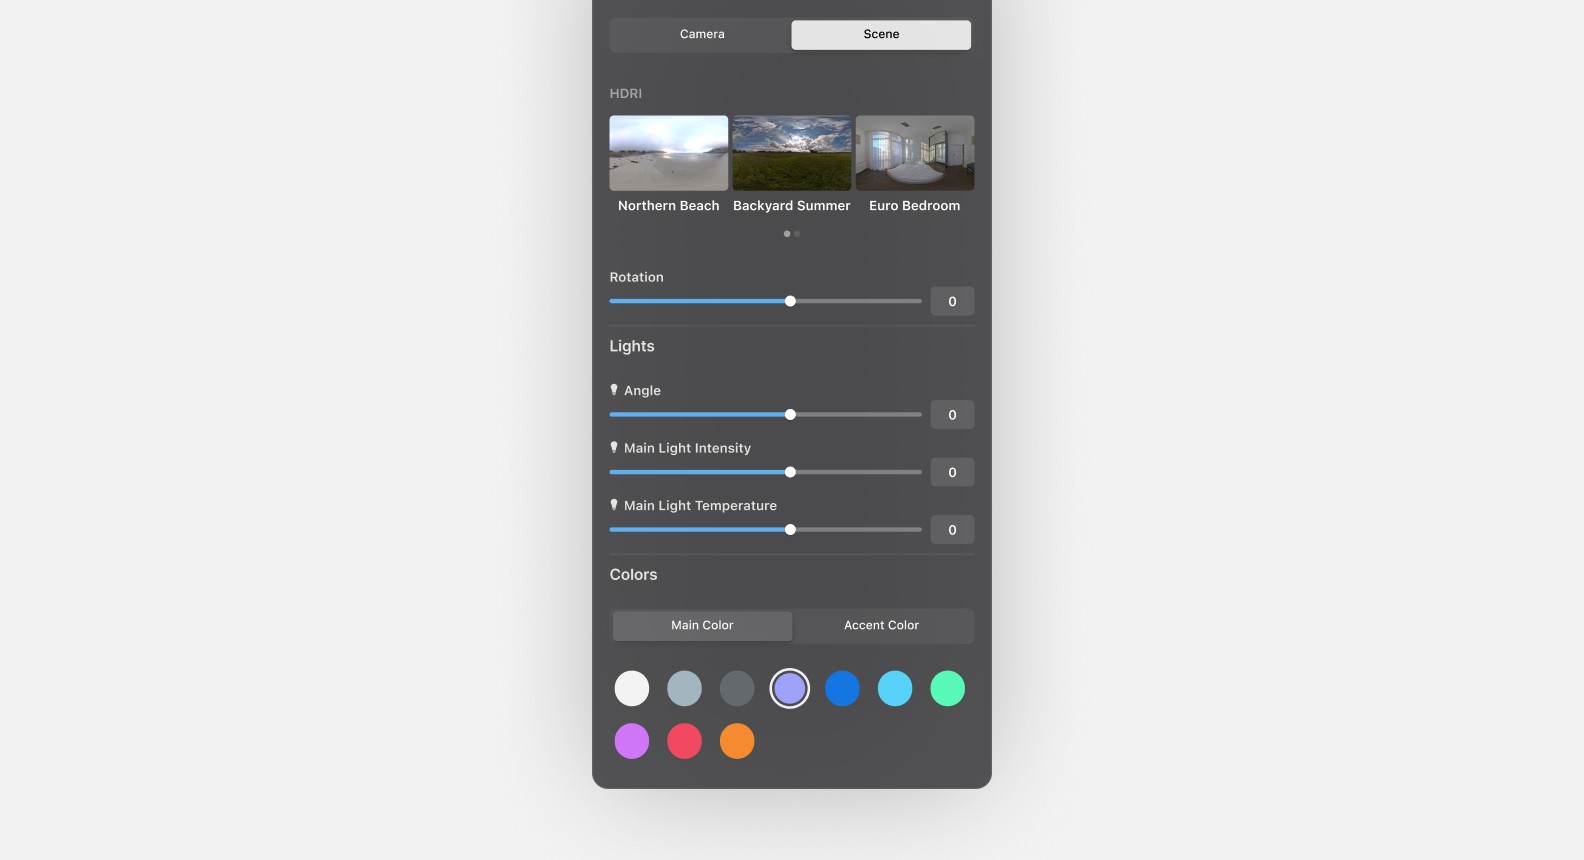
HDRI
Settings for HDRIs change environmental lighting and reflections, mimicking different scenarios. These options are unavailable for backdrops not utilizing HDRIs.
Lights
Light source adjustments can enhance product features or set a mood, with controls for intensity and temperature of both the main and fill lights.
Colors
Depending on the backdrop, color settings can alter the backdrop's element colors or the lighting color within the scene. For backdrops like “Pure Color”, the color setting will change the overall environment’s color. For backdrops like “Cyc Stage”, the color setting will change the light source.
The Shot Editor in Glossi Studio lets you bring your 3D models to life with detail and creativity. It's designed for easy use, giving you control over camera movements and scene settings for a perfect showcase. As you use its features, from adjusting camera angles to setting the right scene backdrop, you're crafting your product's story visually. Explore all the tools it offers to enhance your project's appeal.
The Shot Editor in Glossi Studio stands as a powerful tool for fine-tuning shots in your 3D projects, givng you control over the camera's movement, focus, and the overall scene for engaging and dynamic product presentations.
To access the Shot Editor, select a shot in the timeline in video mode or a bookmark in photo mode. The right sidebar will then display the properties of the selected shot, affecting only that shot. At the top of the Shot Editor, a switch allows you to toggle between camera and scene properties.
Camera Controls
The camera section encompasses all properties affecting the simulated camera.
Shot Type
In video mode, Glossi offers a variety of preconfigured camera movements inspired by studio practices. To select a movement, start by choosing from the following categories:
Slider: Creates a smooth horizontal movement, ideal for panoramic views.
Crane: Emulates a camera crane, offering high-angle shots for dramatic overviews.
Orbit: Encircles the product, displaying it from all angles.
Lockup: Positions the camera at a fixed angle, excellent for spotlighting features.
Accent: Introduces dynamic zooms or pans to highlight specific attributes.
Explore the individual shot types within your chosen category to find the perfect fit.
Shot Target
By default, Glossi focuses product shots on the entire uploaded model. This works great for showing off the product, but sometimes it’s necessary to highlight specific features of a model. This is achieved in Glossi studio by leveraging a concept called Targets. Targets pinpoint locations on a model, allowing shots to focus and orbit around them, serving as anchor points for camera movement. Targets are only available in video mode.
Camera Settings
Simulating physical camera properties, these settings include:
Focus: Adjust the point in your scene for the camera to focus on.
Zoom: Zoom in or out to get the perfect frame for your shot.
Blur: Increase or decrease background blur to keep the viewer's attention on the product.
Offsets
In video mode, offsets allow you to adjust the camera's position relative to the target, offering a nuanced control over shot composition. This flexibility, paired with camera settings, makes it easy to on various model elements and craft new compositions.
Product Pose
While in photo mode, product pose allows you to adjust the position of the product in the environment. These settings are helpful when you might want to keep a camera angle steady, but change the product’s location.
Scene Controls
Over in the scene section, the backdrop properties can be adjusted. The changes made to the backdrop and scene from the shot editor only affect the scene for that shot. Changes will not apply to other shots.
HDRI
Settings for HDRIs change environmental lighting and reflections, mimicking different scenarios. These options are unavailable for backdrops not utilizing HDRIs.
Lights
Light source adjustments can enhance product features or set a mood, with controls for intensity and temperature of both the main and fill lights.
Colors
Depending on the backdrop, color settings can alter the backdrop's element colors or the lighting color within the scene. For backdrops like “Pure Color”, the color setting will change the overall environment’s color. For backdrops like “Cyc Stage”, the color setting will change the light source.
The Shot Editor in Glossi Studio lets you bring your 3D models to life with detail and creativity. It's designed for easy use, giving you control over camera movements and scene settings for a perfect showcase. As you use its features, from adjusting camera angles to setting the right scene backdrop, you're crafting your product's story visually. Explore all the tools it offers to enhance your project's appeal.