Follow along with this step-by-step tutorial to set up your first Glossi project. Learn how to load your 3D model, adjust your scene, set up camera animations, and export your creative content.
Before we begin, you'll need two things:
A Glossi account
A 3D model
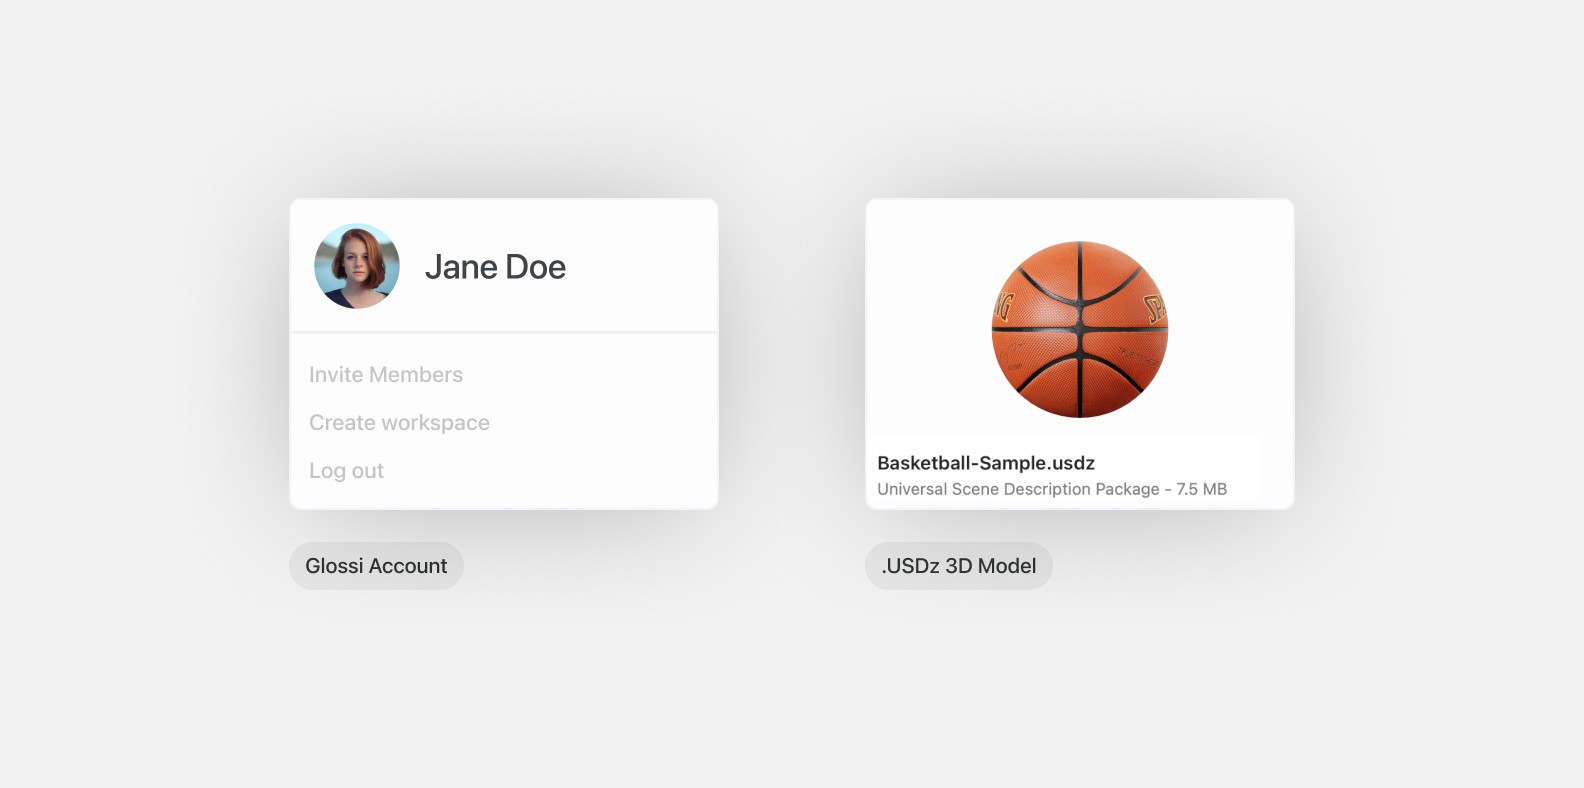
Let's use this basketball .USDz 3D model for this guide. Knowing a little about how projects are structured and how the studio interface works in Glossi will also be helpful.
Preparing Project
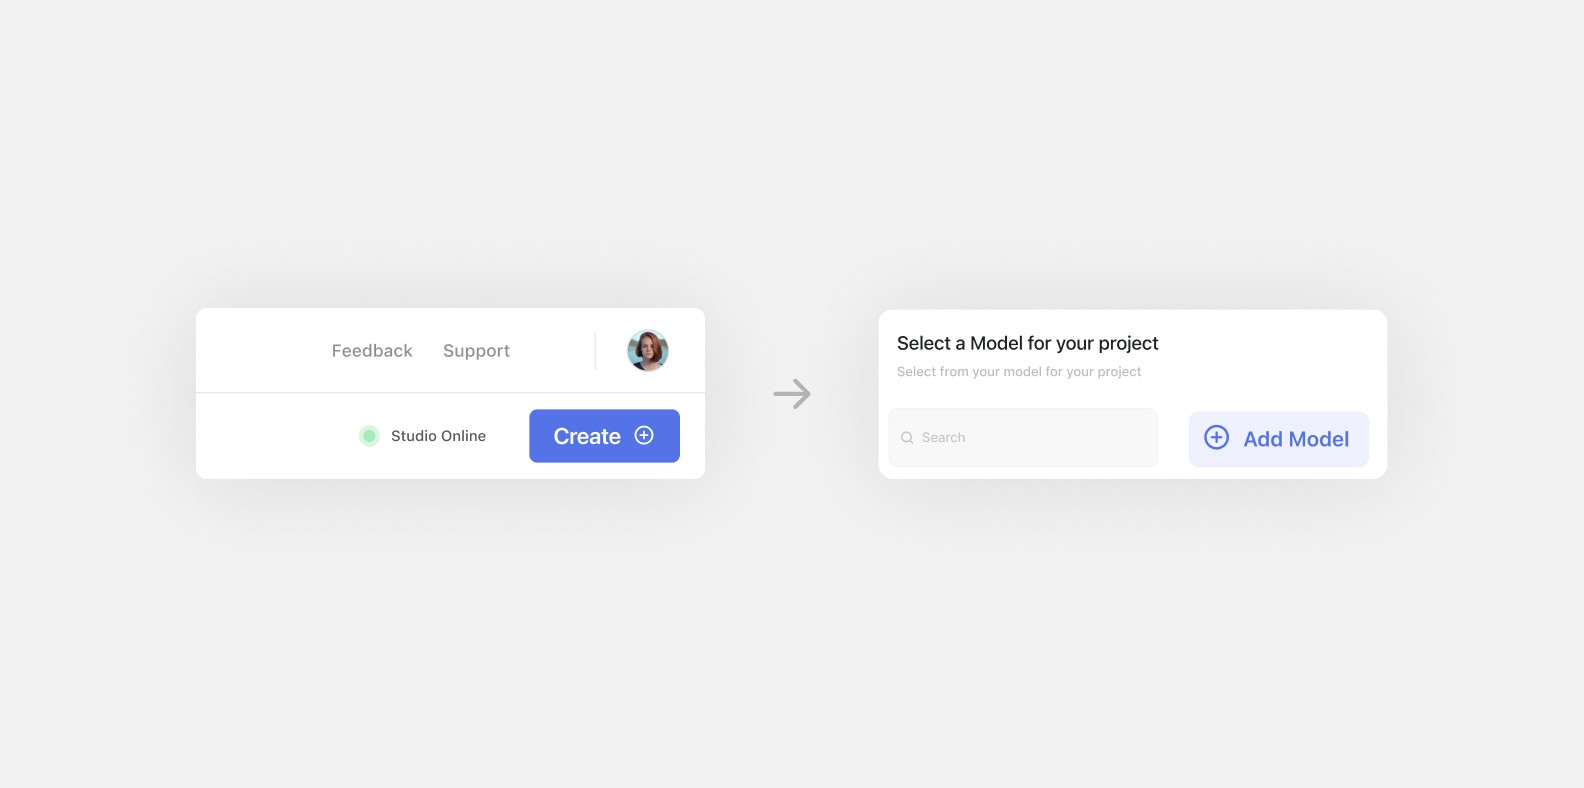
To start, we need to get our basketball model into Glossi. Select "Create +" from the top right of the toolbar in the project navigator. A panel will appear showing all of your existing models. From the top right of this panel, select "Add Model +." You can drag in your .USDz model. Select continue, and the model will upload.
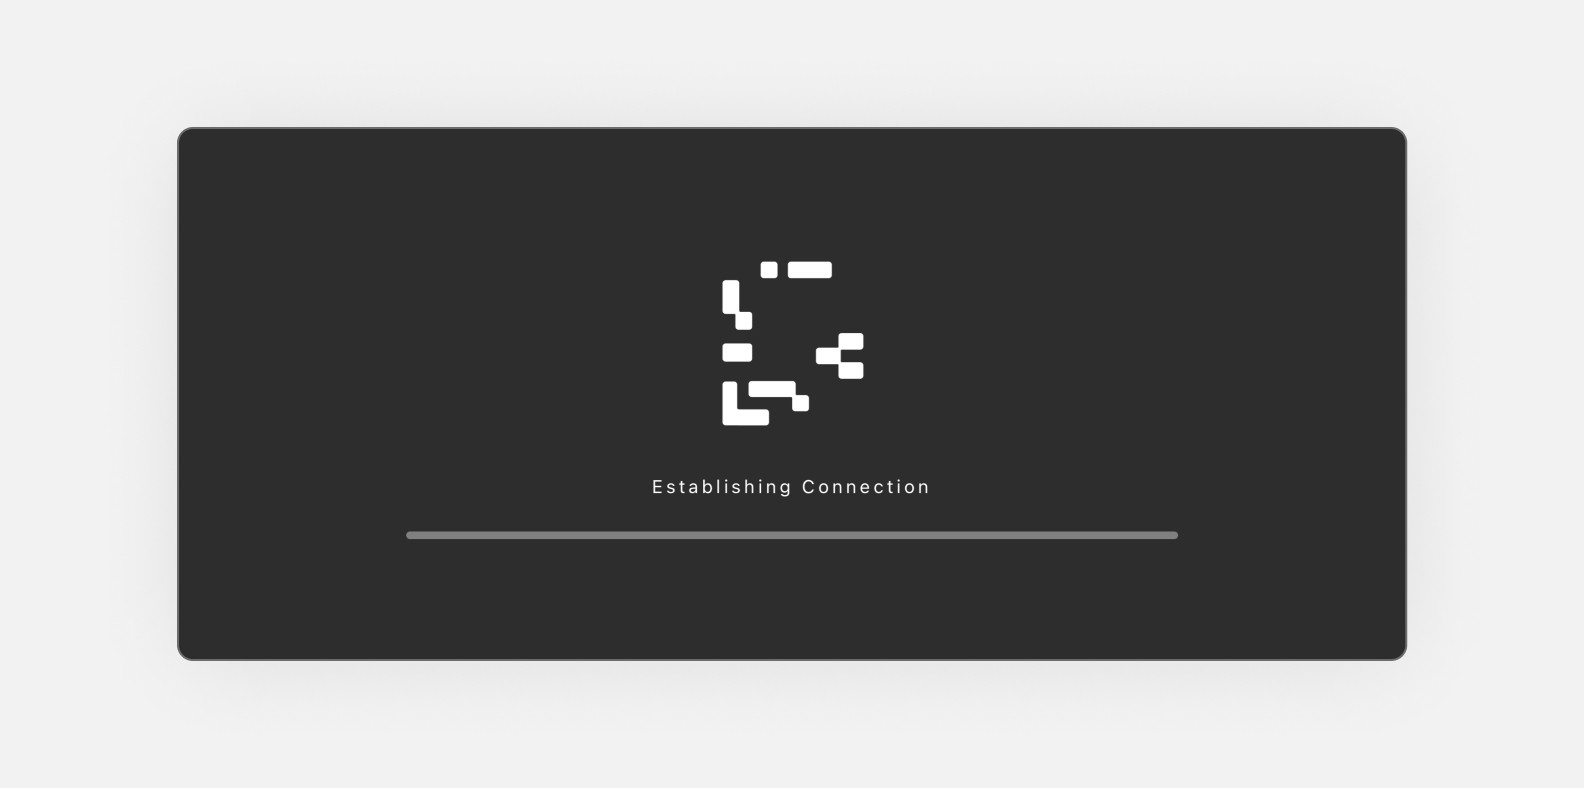
After the upload is complete, you'll be prompted to create a new project from that model. Let's name this one "Spalding Social Campaign". If your connection has loaded, the project will open in Glossi Studio. If the Studio Connection hasn't loaded yet, wait for the connection to complete before opening the project.
Calibrating Your Model
When first creating a project, Glossi tries to set up the model to scale. Sometimes the .USDz files are misconfigured, so it's essential to ensure that Glossi treats with appropriate sizing. Select calibrate from the right sidebar under the "Model" section.
In our case, the basketball is too small. For reference, we can tell since the basketball is slightly larger than the quarter. We can do two things:
Select a different Unit Scale, which will treat the sizing values as different units. In our case, even at the largest scale (m), the basketball is still too small. So, let's try the second tool at our disposal:
Enter a different Relative Scale. This value is an adjustable number that gives us granular control over the model's size. Let's enter "10.0". This seems approximately accurate. If we want to dial it in, we can enter more specific values or use the arrows to the right of the text box.
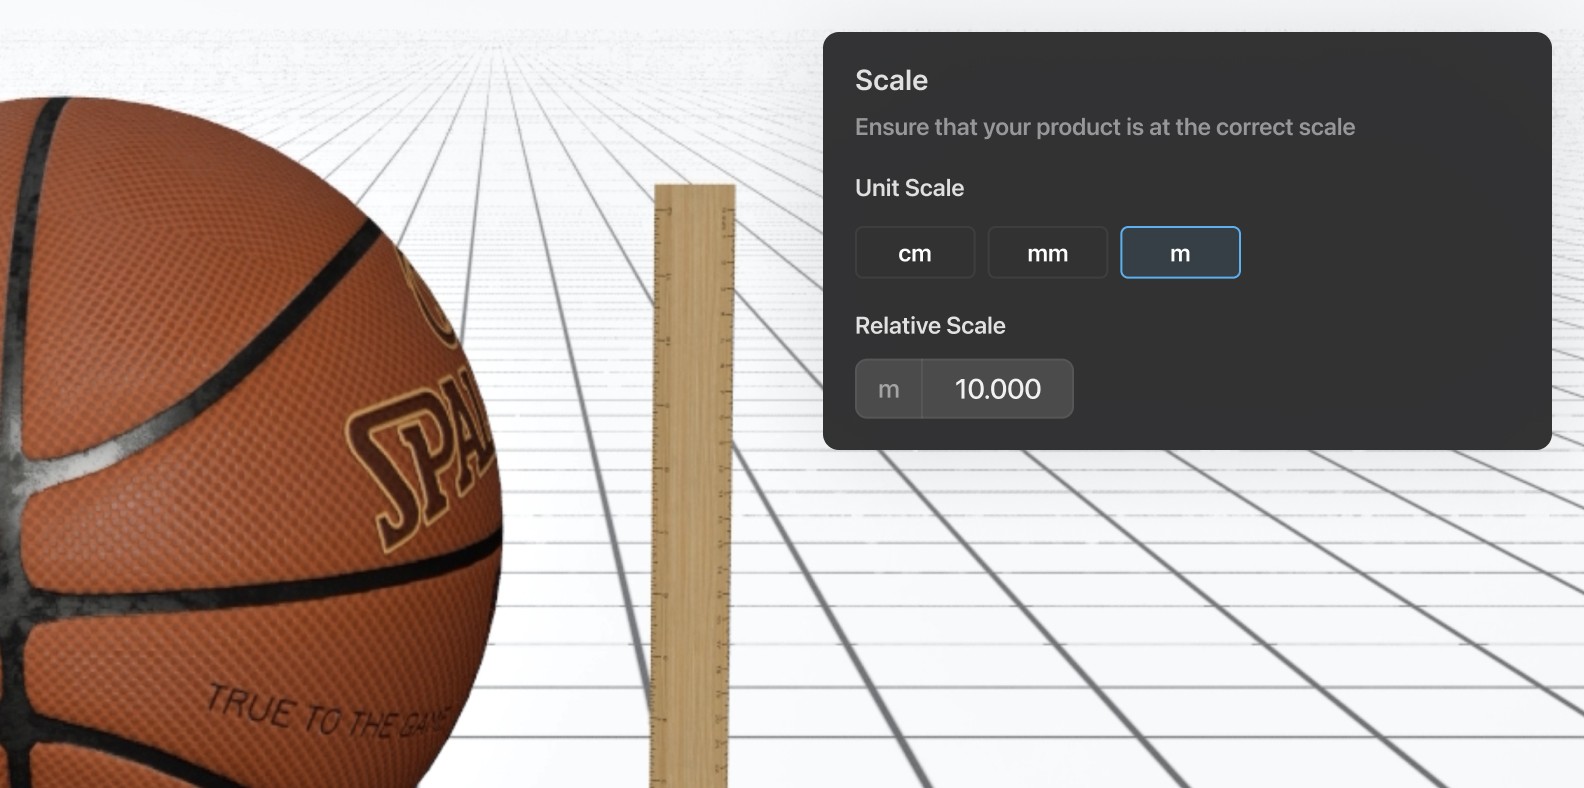
For our use case, a 10m relative scale seems appropriate. Select "Confirm Calibration" to save this calibration.
Configuring our Environment
By default, our basketball is set in a plain white environment. While you might enjoy this look, there are several other scenes we can play with. In the top right of our right sidebar, you'll notice a section labeled "Backdrops." Backdrops are the virtual environments we can swap between for different looks. Let's explore the possible backdrops by selecting "Change."
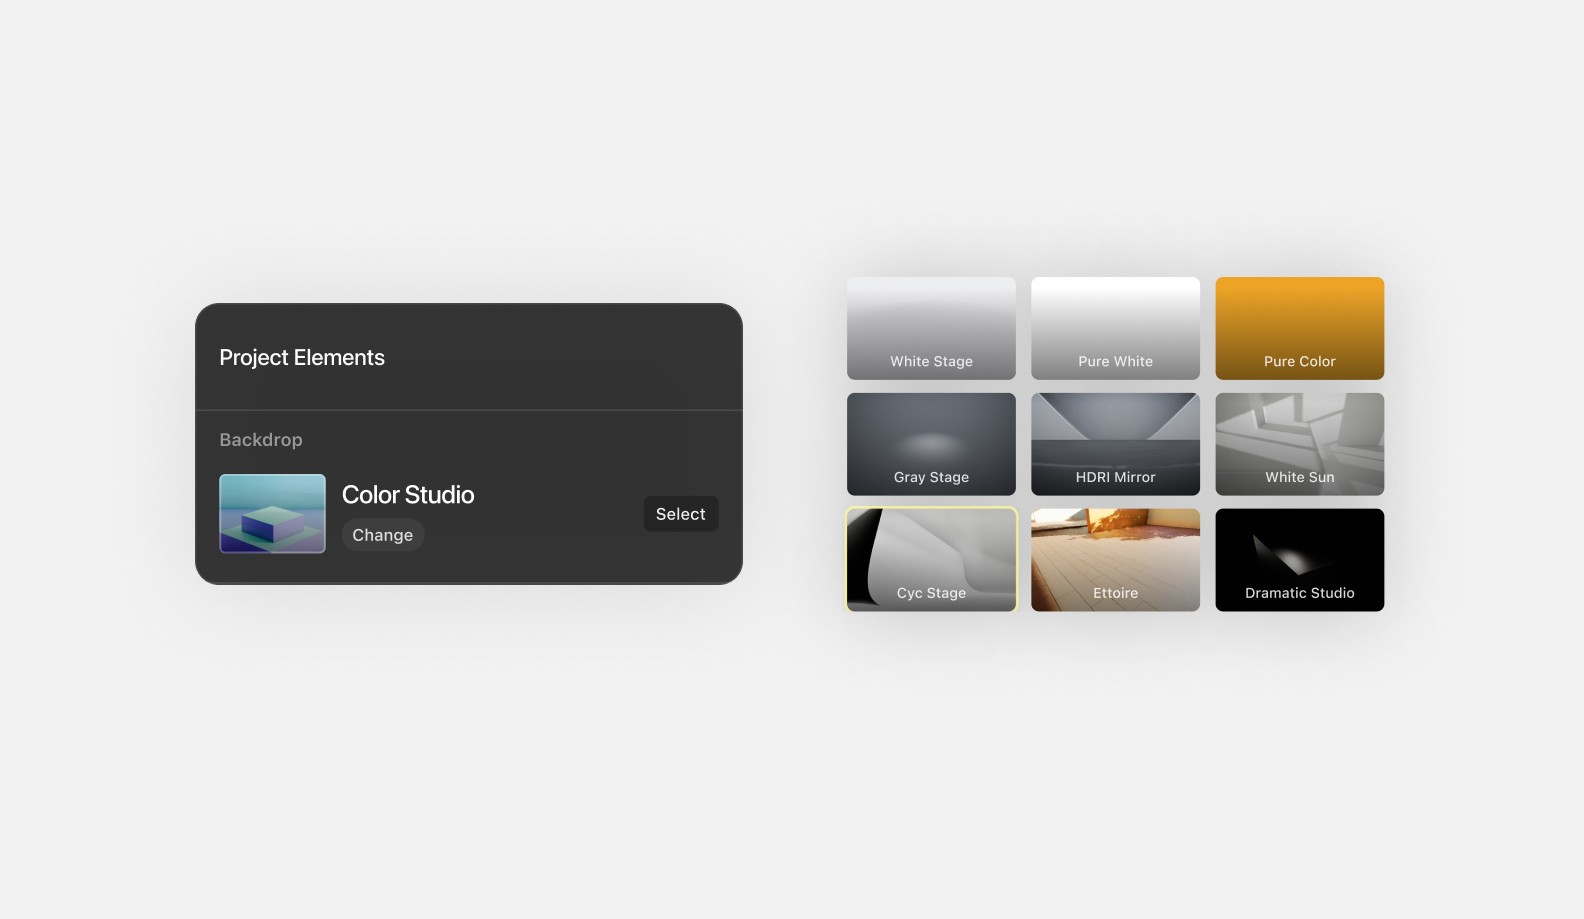
There are several backdrops to choose from. Some backdrops are simple, some are more stylistic, and some feel like real-world spaces. The backdrops available at any given time are based on the scale we calibrated for our model. Some backdrops work better with small models, while others work better with large ones. For this exercise, let's select "White Sun."
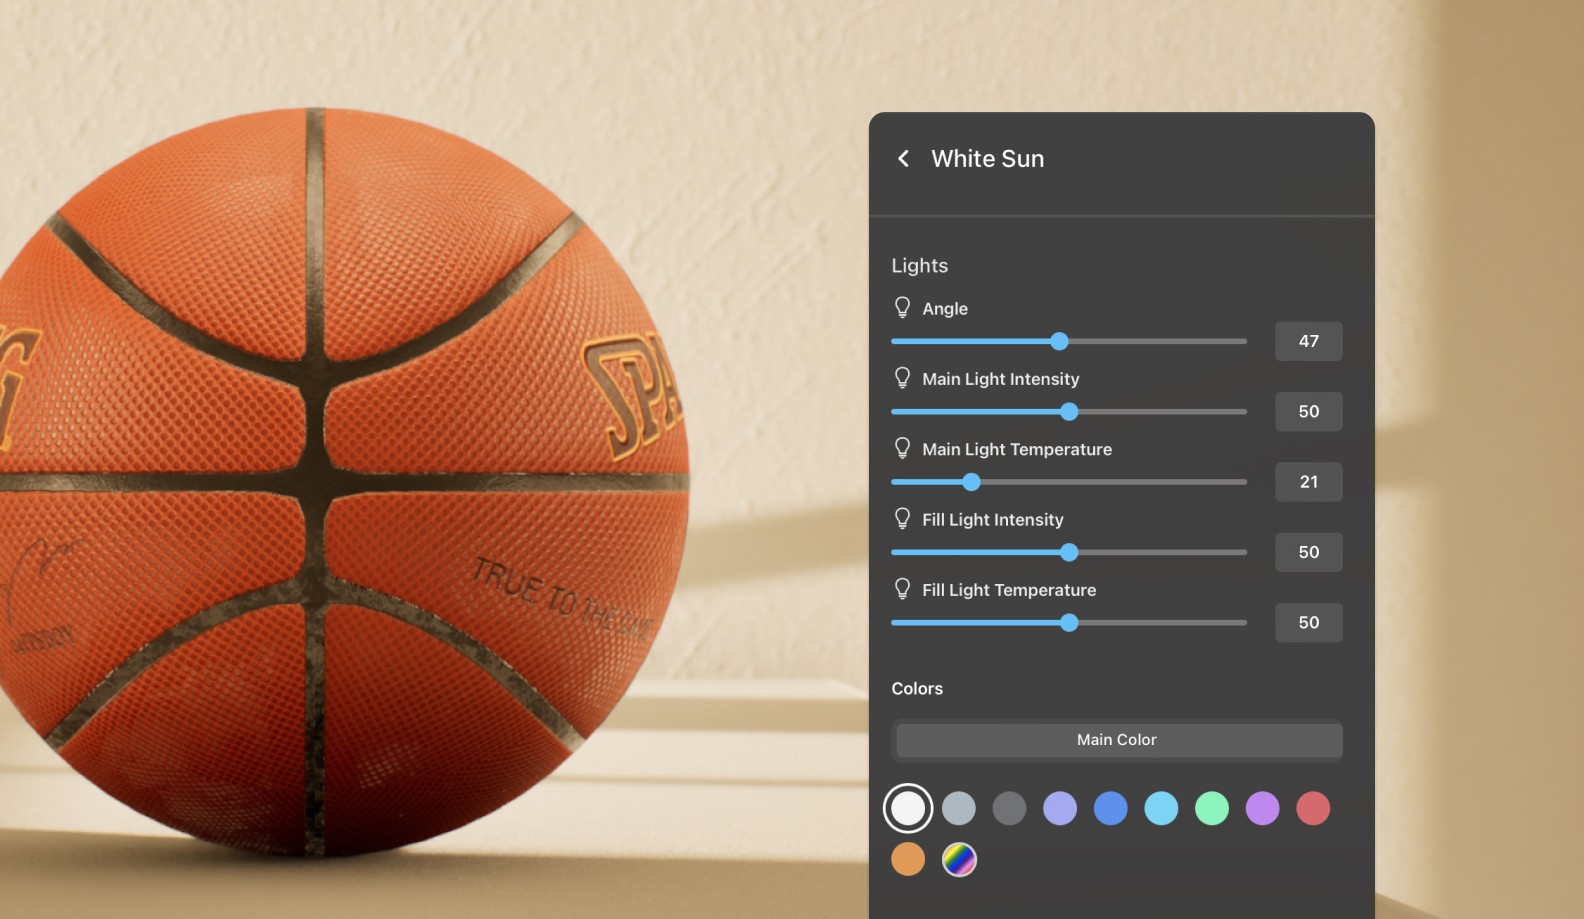
Back to the main sidebar menu, we can now "Edit Style." The backdrop style controls allow us to adjust lighting, color, and any other settings particular to any given backdrop. Some backdrops have different properties, so this menu may have different controls. Let's experiment with the lighting angle and the main light temperature to achieve a pleasant golden hour feel.
Directing our Video
Now, we can get to the fun of playing cinematographer. In the timeline bar, there are three video shots preconfigured. Select "Straight at Center" to see what these shots do.
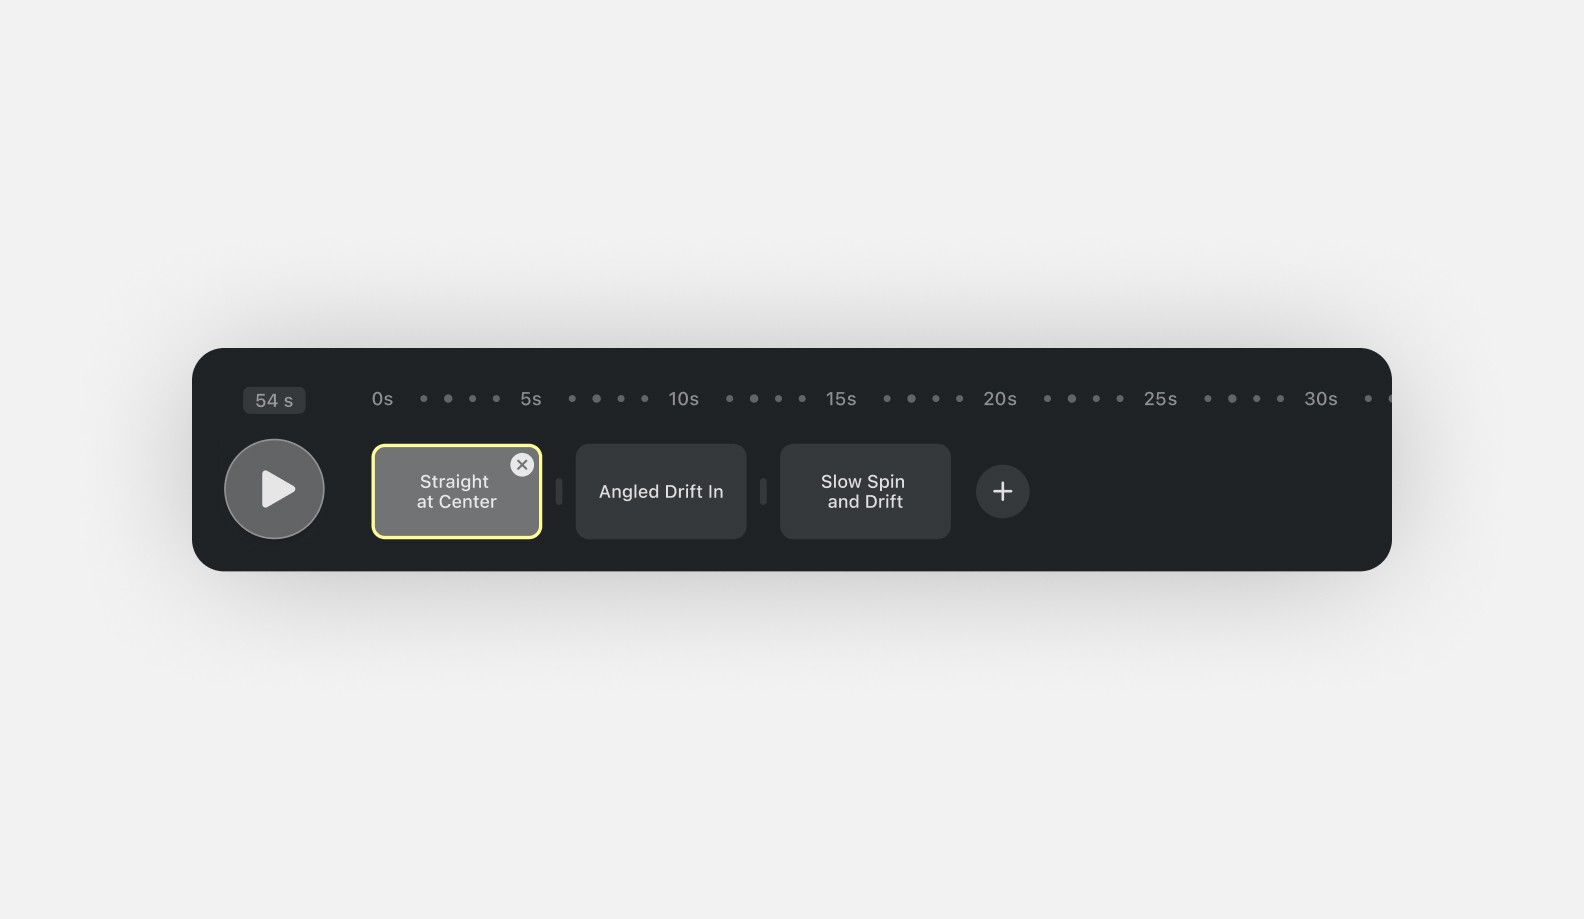
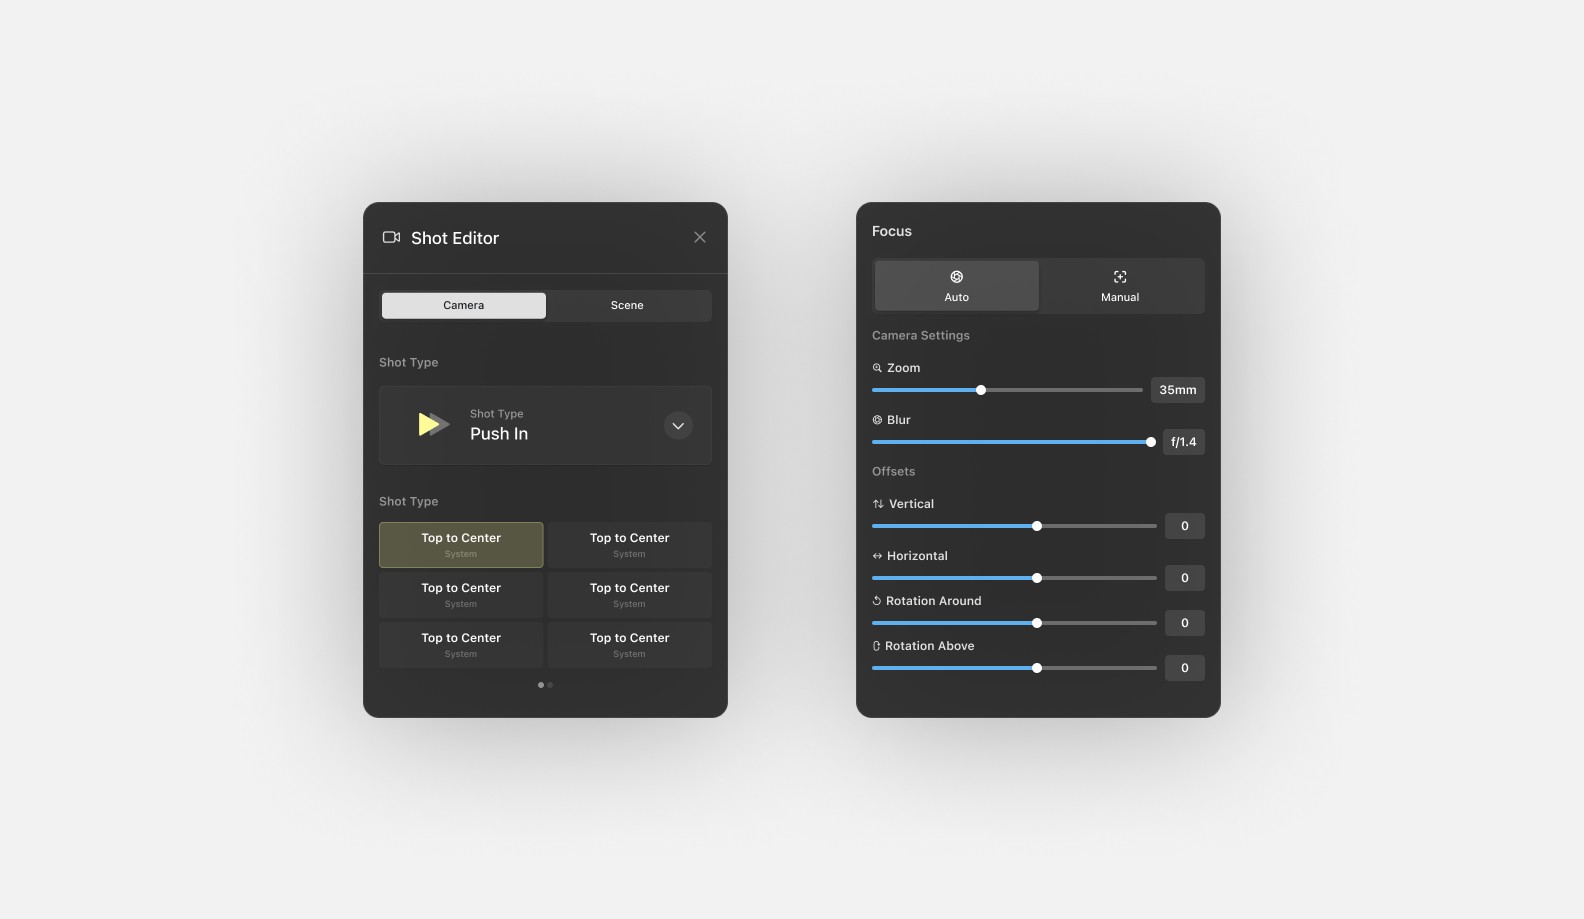
The timeline will show our camera movements in chronological order. We can add or remove shots from this timeline. Since we've already selected the "Straight at Center" shot, let's modify it. The right sidebar will show controls to alter the properties of our camera movement. For the shot type, let's change it from "Slider" to "Orbit." There are several preset movements for any given shot type. Play through them to see what works for your model.
Lower down in the right sidebar, we can find camera controls. These properties allow us to change the camera as we would in the real world. Soft focus looks good on this model, so let's increase the blur, measured as a camera would in f-stop.
Play around with the shots in the timeline to see what works for you. You can re-order shots by dragging them.
Switching to Photography
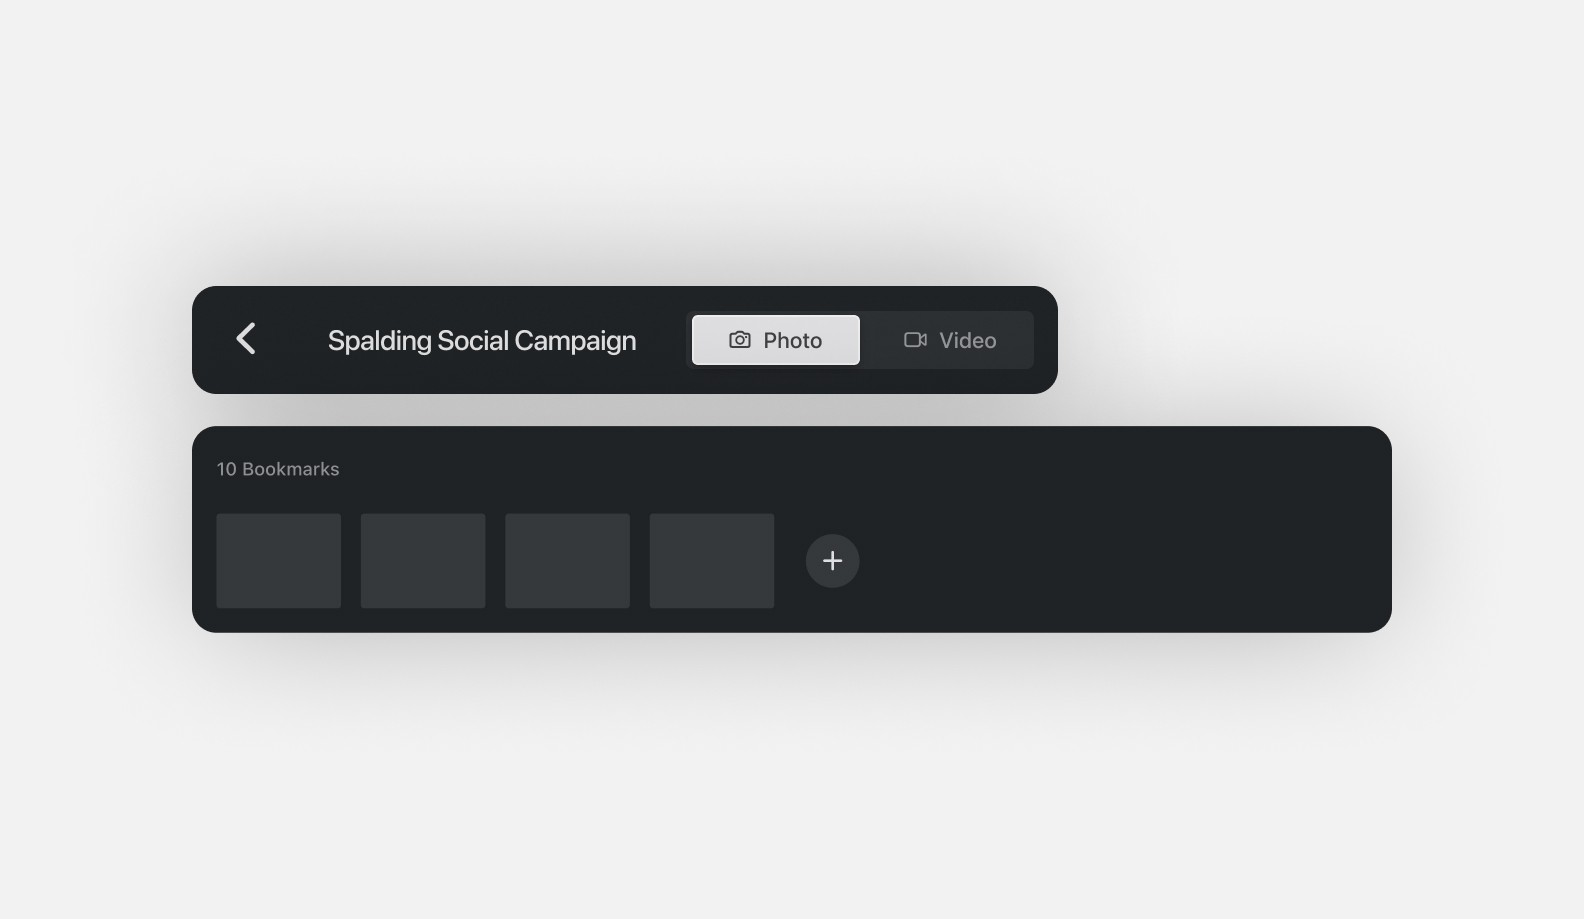
Sometimes, it makes sense to export still photography rather than video. Switch over to the photo mode in the top left of the toolbar. You'll notice that the timeline interface changes, and shots are replaced with "Bookmarks." Bookmarks are still camera angles that export as individual image files.
Rendering our Video
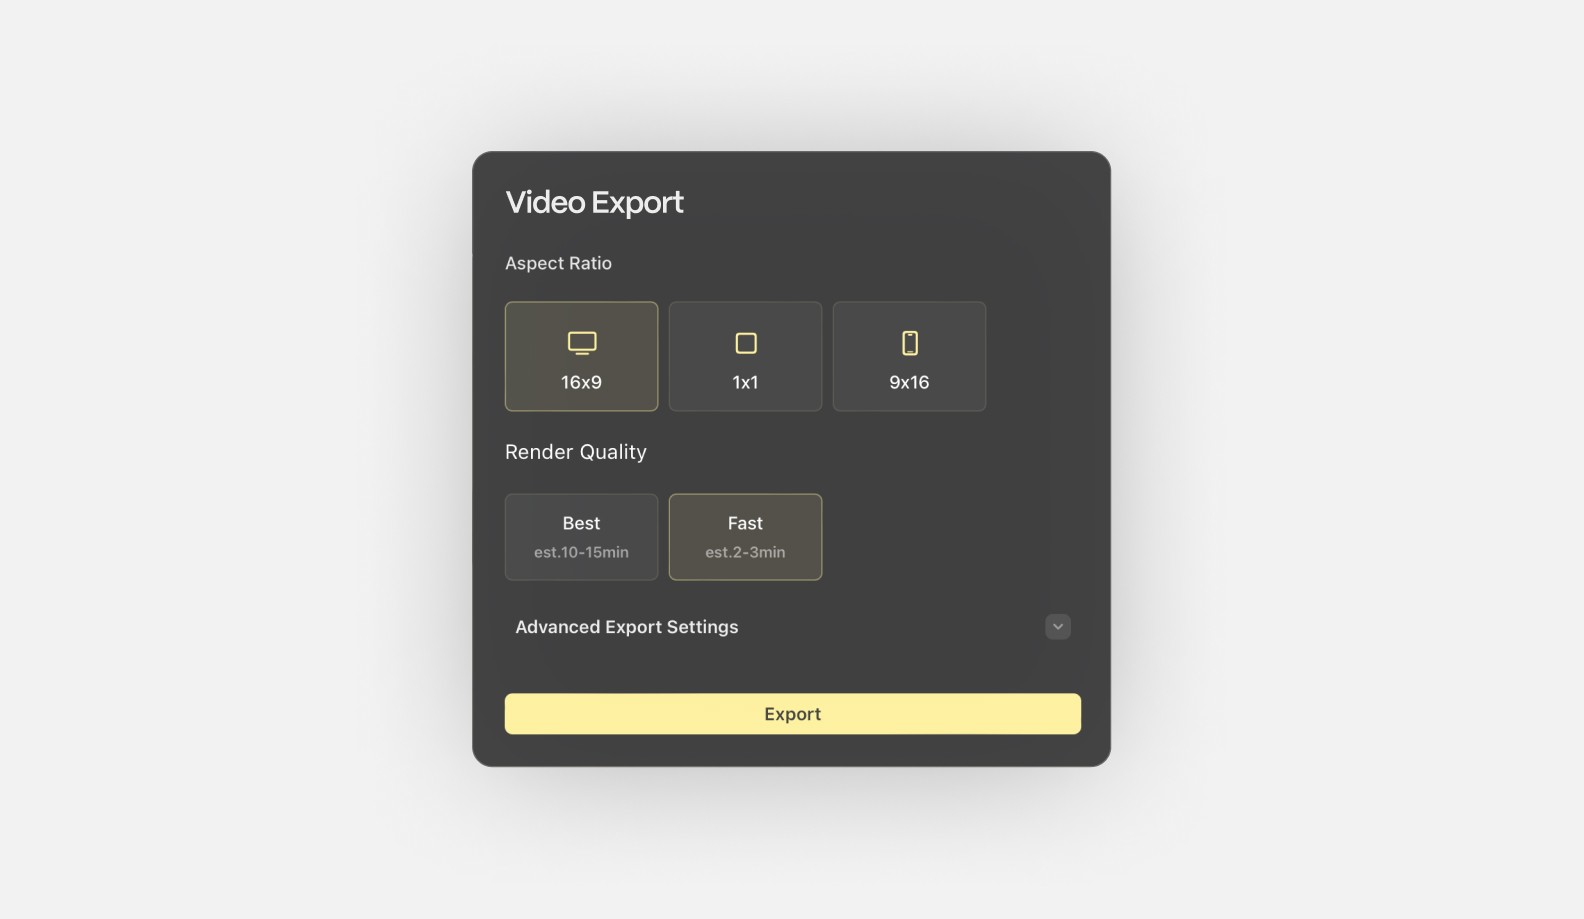
Once we're happy with the look, we can export what we've made. The export settings will change based on whether we're in photo or video mode. So, let's switch back to video mode. In the top right of the toolbar, select "Export." Since we're making assets for a social campaign, a 9x16 vertical aspect ratio makes sense. We already like the look, so let's use the best render quality.
There are additional advanced render settings, but we can cover this in another article. When ready, select "Export". The project will begin making a high-quality rendering of your project. Depending on the timeline and scene complexity, this may take several minutes. It's safe to exit the studio once the render has been initiated. Exit to the project navigator using the back button (<) at the top left of the toolbar.
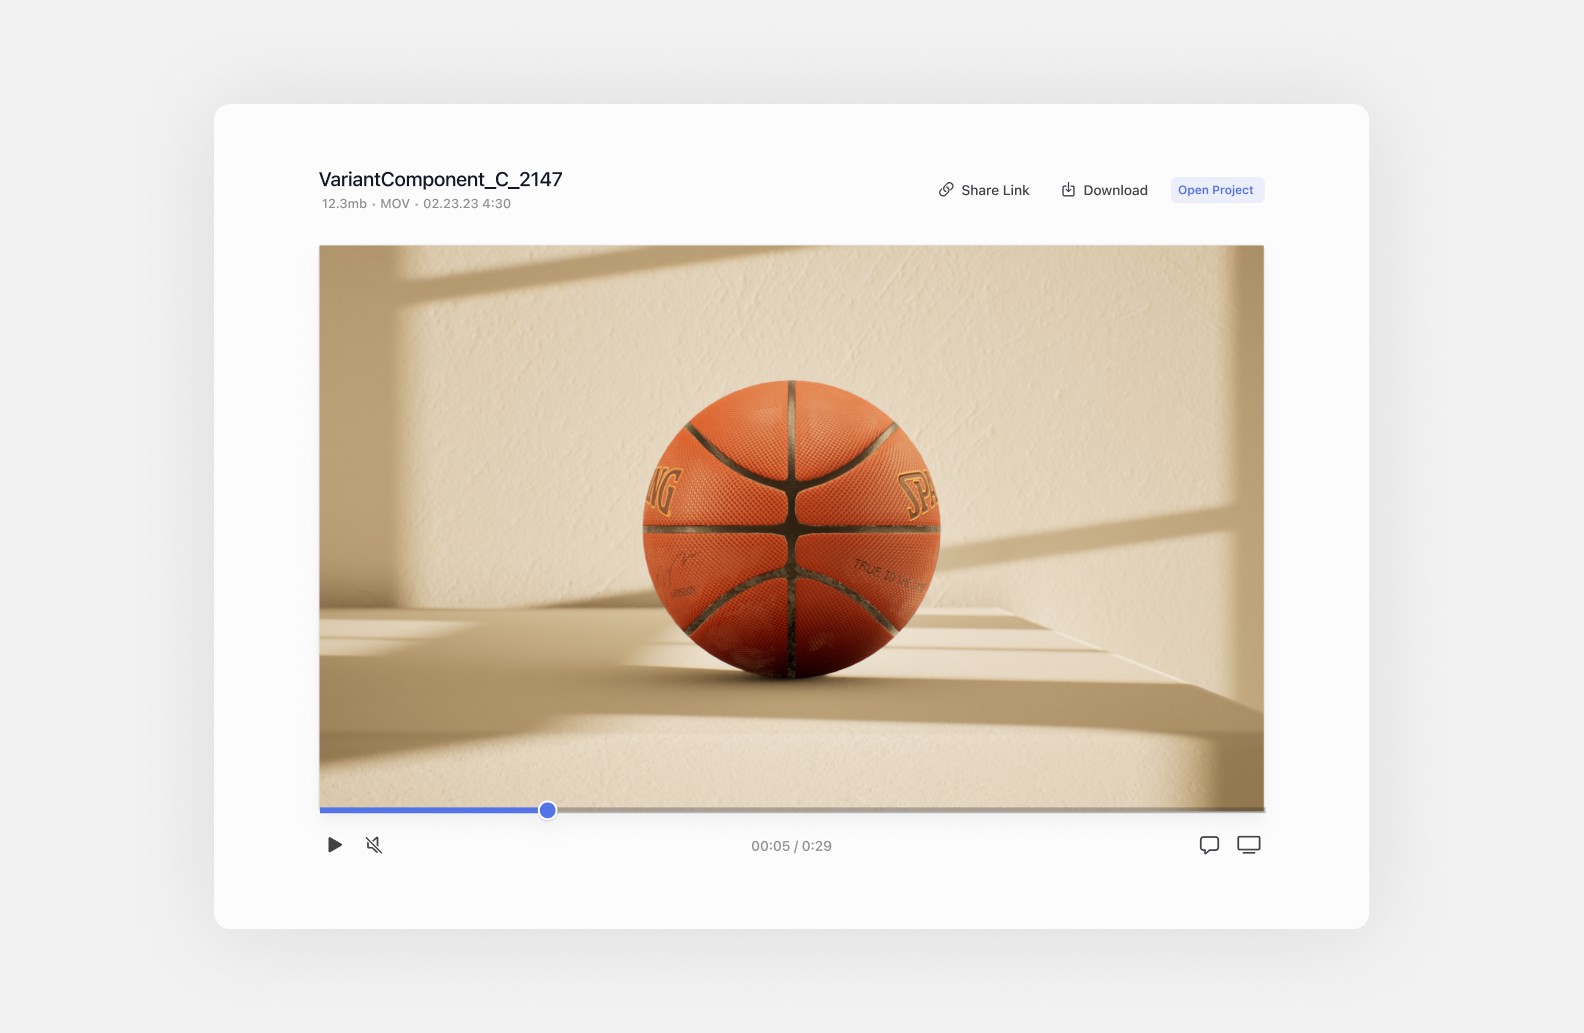
Back in the project navigator, the rendered exports will be available under the "Spalding Social Campaign" project. The export may take a few minutes to load as the studio has to complete the rendering. Once it's finished, you can view the processed video. You can download the video as either a .mov or .mp4 at the top right of the export.
Next Steps
Great, you've now had a taste of what the studio offers. We encourage you to explore each menu to learn about backdrops, shots, camera settings, and render settings. Our Getting Started page has resources to learn more.
Follow along with this step-by-step tutorial to set up your first Glossi project. Learn how to load your 3D model, adjust your scene, set up camera animations, and export your creative content.
Before we begin, you'll need two things:
A Glossi account
A 3D model
Let's use this basketball .USDz 3D model for this guide. Knowing a little about how projects are structured and how the studio interface works in Glossi will also be helpful.
Preparing Project
To start, we need to get our basketball model into Glossi. Select "Create +" from the top right of the toolbar in the project navigator. A panel will appear showing all of your existing models. From the top right of this panel, select "Add Model +." You can drag in your .USDz model. Select continue, and the model will upload.
After the upload is complete, you'll be prompted to create a new project from that model. Let's name this one "Spalding Social Campaign". If your connection has loaded, the project will open in Glossi Studio. If the Studio Connection hasn't loaded yet, wait for the connection to complete before opening the project.
Calibrating Your Model
When first creating a project, Glossi tries to set up the model to scale. Sometimes the .USDz files are misconfigured, so it's essential to ensure that Glossi treats with appropriate sizing. Select calibrate from the right sidebar under the "Model" section.
In our case, the basketball is too small. For reference, we can tell since the basketball is slightly larger than the quarter. We can do two things:
Select a different Unit Scale, which will treat the sizing values as different units. In our case, even at the largest scale (m), the basketball is still too small. So, let's try the second tool at our disposal:
Enter a different Relative Scale. This value is an adjustable number that gives us granular control over the model's size. Let's enter "10.0". This seems approximately accurate. If we want to dial it in, we can enter more specific values or use the arrows to the right of the text box.
For our use case, a 10m relative scale seems appropriate. Select "Confirm Calibration" to save this calibration.
Configuring our Environment
By default, our basketball is set in a plain white environment. While you might enjoy this look, there are several other scenes we can play with. In the top right of our right sidebar, you'll notice a section labeled "Backdrops." Backdrops are the virtual environments we can swap between for different looks. Let's explore the possible backdrops by selecting "Change."
There are several backdrops to choose from. Some backdrops are simple, some are more stylistic, and some feel like real-world spaces. The backdrops available at any given time are based on the scale we calibrated for our model. Some backdrops work better with small models, while others work better with large ones. For this exercise, let's select "White Sun."
Back to the main sidebar menu, we can now "Edit Style." The backdrop style controls allow us to adjust lighting, color, and any other settings particular to any given backdrop. Some backdrops have different properties, so this menu may have different controls. Let's experiment with the lighting angle and the main light temperature to achieve a pleasant golden hour feel.
Directing our Video
Now, we can get to the fun of playing cinematographer. In the timeline bar, there are three video shots preconfigured. Select "Straight at Center" to see what these shots do.
The timeline will show our camera movements in chronological order. We can add or remove shots from this timeline. Since we've already selected the "Straight at Center" shot, let's modify it. The right sidebar will show controls to alter the properties of our camera movement. For the shot type, let's change it from "Slider" to "Orbit." There are several preset movements for any given shot type. Play through them to see what works for your model.
Lower down in the right sidebar, we can find camera controls. These properties allow us to change the camera as we would in the real world. Soft focus looks good on this model, so let's increase the blur, measured as a camera would in f-stop.
Play around with the shots in the timeline to see what works for you. You can re-order shots by dragging them.
Switching to Photography
Sometimes, it makes sense to export still photography rather than video. Switch over to the photo mode in the top left of the toolbar. You'll notice that the timeline interface changes, and shots are replaced with "Bookmarks." Bookmarks are still camera angles that export as individual image files.
Rendering our Video
Once we're happy with the look, we can export what we've made. The export settings will change based on whether we're in photo or video mode. So, let's switch back to video mode. In the top right of the toolbar, select "Export." Since we're making assets for a social campaign, a 9x16 vertical aspect ratio makes sense. We already like the look, so let's use the best render quality.
There are additional advanced render settings, but we can cover this in another article. When ready, select "Export". The project will begin making a high-quality rendering of your project. Depending on the timeline and scene complexity, this may take several minutes. It's safe to exit the studio once the render has been initiated. Exit to the project navigator using the back button (<) at the top left of the toolbar.
Back in the project navigator, the rendered exports will be available under the "Spalding Social Campaign" project. The export may take a few minutes to load as the studio has to complete the rendering. Once it's finished, you can view the processed video. You can download the video as either a .mov or .mp4 at the top right of the export.
Next Steps
Great, you've now had a taste of what the studio offers. We encourage you to explore each menu to learn about backdrops, shots, camera settings, and render settings. Our Getting Started page has resources to learn more.